Step-by-step Tutorial: How to Untether Jailbreak iPhone, iPad and iPod Touch Using Pangu8 (Windows) [iOS 8.0-8.1]
UPDATE: Apple released iOS 8.1.1, that is not yet jailbreakable. So you will be able to jailbreak your device only if you already have iOS 8.0-8.1 installed.
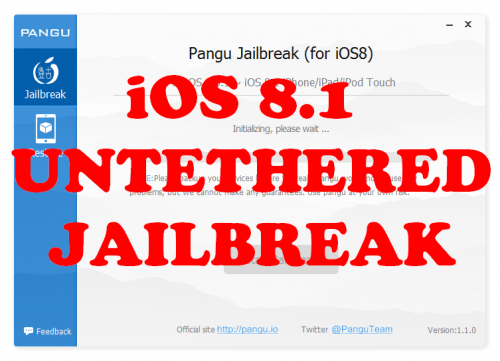
This is step-by-step instructions on how to perform untethered jailbreak of iOS 8.0 - iOS 8.1 firmwares using Pangu8 for Windows.
This tutorial works for:
- iPhone 4S, iPhone 5, iPhone 5C, iPhone 5S, iPhone 6, iPhone 6 Plus
- iPod Touch 5G
- iPad 2, iPad 3, iPad 4, iPad Air, iPad Air 2, iPad Mini, iPad Mini 2, iPad Mini 3
Supported firmwares: iOS 8.0 - iOS 8.1.
Important: Please, consider reading our Jailbreak & Unlock FAQ, if you have other device or firmware and especially if you have questions or troubles.
Important information.
Please think first, before you do something.
If you have iPhone and need carrier unlock - do not update to regular Apple iOS firmware, wait for other utilities to create a custom firmware to preserve modem version!!
Step 1
Connect your device to the computer and launch iTunes. Make sure you have the latest iTunes installed.
Select your device from the list of devices on the left.In iTunes 11 to activate left panel press Ctrl+S.
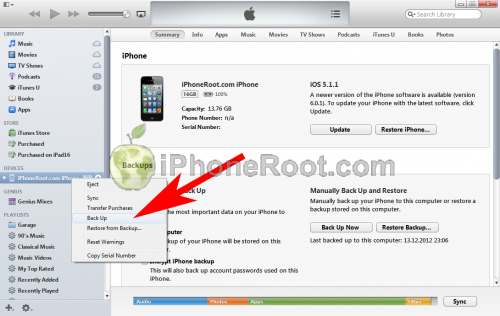
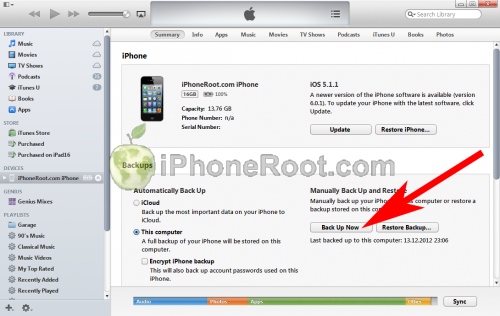
Create a backup by right-clicking on the name in Devices (iTunes left pane) and choosing Back Up. In iTunes 11 you can click Back Up Now button.
Step 2
If you are already on iOS 8.x you can now skip to step three. We recommend updating to iOS 8.1 via full restore.
UPDATE: Apple released iOS 8.1.1, that is not yet jailbreakable. So you will be able to jailbreak your device only if you already have iOS 8.0-8.1 installed. Do not try to restore to iOS 8.1, Apple will not allow this.
Step 3
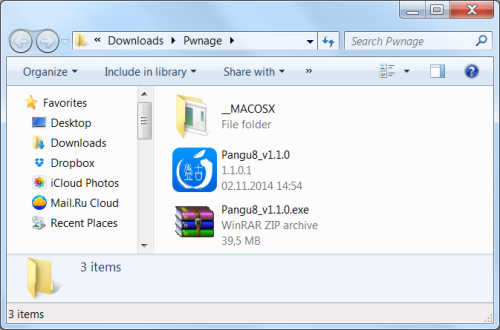
Create a folder on your desktop (or any other folder on your computer) called Pwnage
Download the latest version of Pangu8 from here. Save it in the Pwnage folder.
If your download is a zip file then extract the archive into the same folder.
Step 4
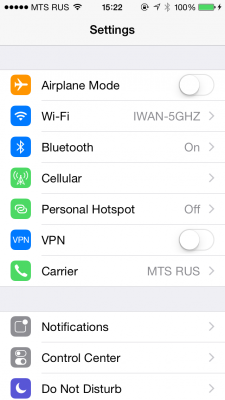
Now you need to prepare our device for the jailbreak process. Turn off Passcode, disable Find My iPhone and enable Airplane Mode:
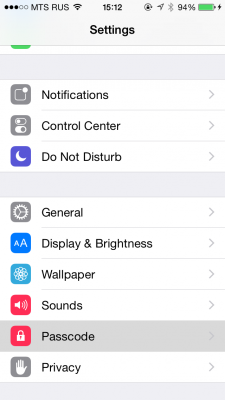
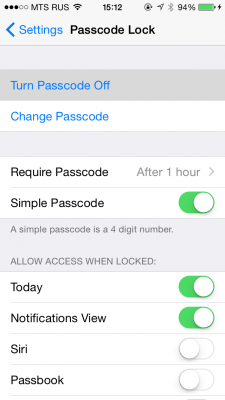
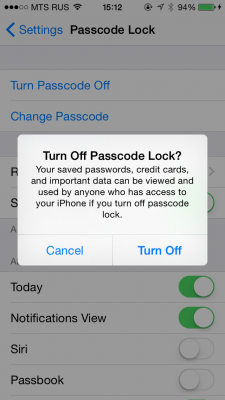
Step 4a - Turn off Passcode
Tap Settings from your Springboard then select Passcode (on moden 5S and 6 it would be Touch ID & Passcode). Turn Passcode Off if it is enabled.
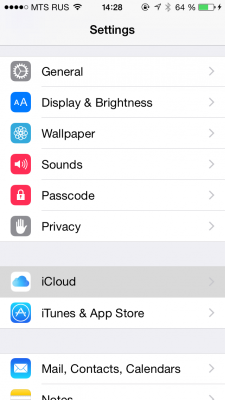
Step 4b - disable Find My iPhone
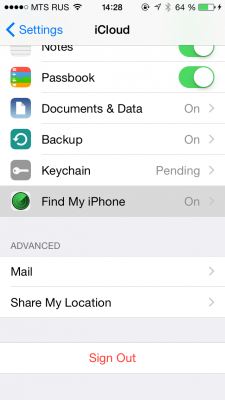
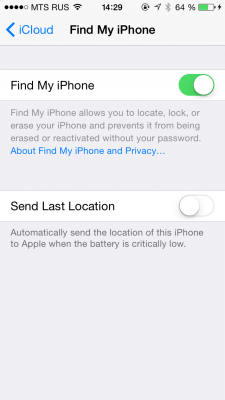
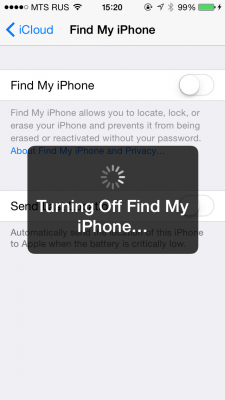
Go to Settings - iCloud - Find My iPhone. Ensure the Find My iPhone switch is the Off position (you will be asked to enter iCloud password).
Step 4c - enable Airplane Mode
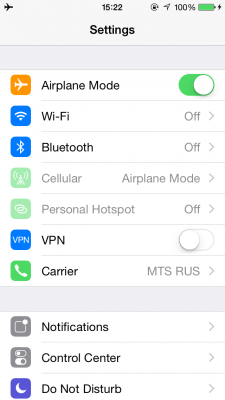
Return to the Settings menu by tapping the iCloud then Settings buttons at the top left of the screen. Then enable Airplane Mode by tapping the Airplane Mode switch.
Step 5
Connect your iPhone to the computer via a USB cable.
Double click the Pangu8 executable on your desktop to launch the application.
Step 6
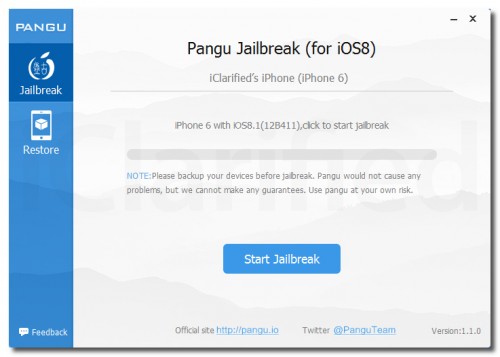
You will notice the device is detected by the software. Click the large Start Jailbreak button to begin your jailbreak.
Step 7
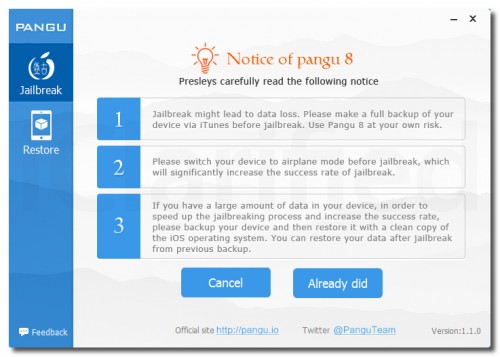
You will be prompted to confirm that you've backed up your device and that it's in Airplane Mode, click the Already Did button to continue.
Step 8
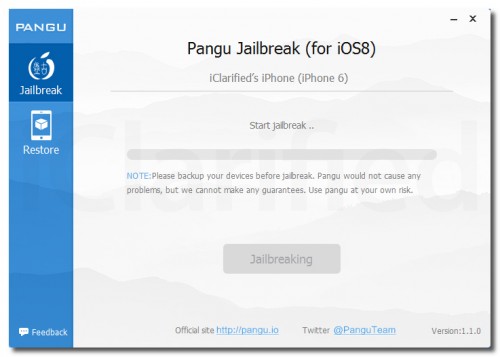
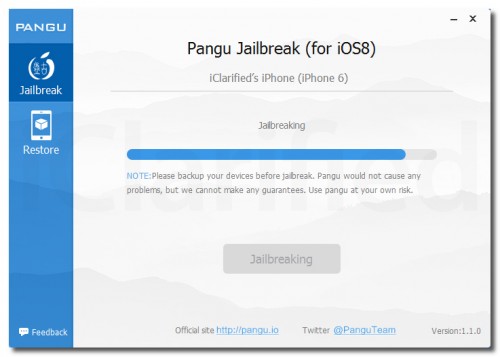
The Pangu app will now begin the jailbreak process.
Step 9
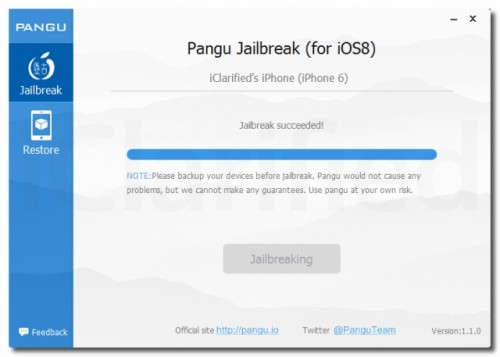
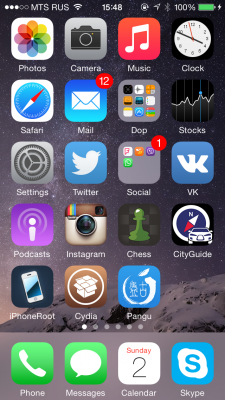
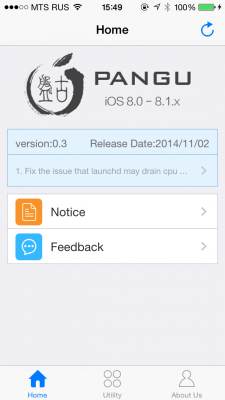
Once the jailbreak has completed successfully, your iPhone will reboot and a Pangu app and Cydia app will appear on your Springboard. Congratulations, you're now jailbroken!
Step 10
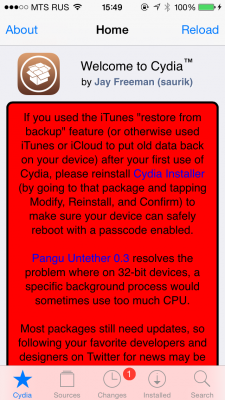
Run Cydia. Let it do all the necessary updates.
To have access to the root file system of your deice (via file managers like iFunBox or iPhone Explorer) install application called afc2add in Cydia.
Step 11
If you want to restore your settings and data from backup. Run iTunes, right-click on iDevice name in Devices (iTunes left pane) and choose Restore from Back Up.
Follow us on :


 Leave a comment, read comments [15]
Спасибо автору статьи! Все получилось с первого раза.Очень подробная инструкция,все так как надо.
[Reply]
Art
3 Nov 14 at 11:06 am
Супер! Присоединяюсь к предыдущему комменту.
[Reply]
udzin
7 Nov 14 at 9:54 pm
кудиа и пангу устанавливается... все по инструкции... а вот когда закидываю программы они не устанавливаются... темненькие с надписью ожидание... я так понимаю у меня джейл не прошел... в чем может быть причина?
[Reply]
admin Reply:
November 9th, 2014 at 8:50 pm
сидия есть, запускается? если так, то джейл прошел. запустите обязательно сидию и в ней установите все обновления.
как именно прграммы закидываете?
[Reply]
com
9 Nov 14 at 5:46 pm
Сидия открывается все обновляется... Программы как и раньше через айтюнс...
[Reply]
Worker Reply:
November 10th, 2014 at 1:32 am
Appsync поставил?
[Reply]
3com Reply:
November 10th, 2014 at 11:44 am
Да... Но для 8.1 там помоему только betta...
[Reply]
com Reply:
November 10th, 2014 at 6:05 pm
Возможно не ту версию app sync поставил... Какую надо для 8.1 ?
[Reply]
admin Reply:
November 16th, 2014 at 11:18 pm
AppSync Unified
[Reply]
com Reply:
November 17th, 2014 at 9:27 am
Именно она и стоит. А результат тот же...
[Reply]
3com
9 Nov 14 at 9:01 pm
JB прошел успешно, cydia запускается, обновляется, appsync установлен, все нужные приложения устанавливаются, но не все запускаются, в частности Навител не хочет работать.
[Reply]
Ingvar
10 Nov 14 at 7:38 pm
Начал перезагружаться и больше не включается,что делать-то Ipad 2 WI-FI 3G?
[Reply]
Julia
19 Nov 14 at 8:09 pm
Ключи активации SAM Unlock не встают на 8.1. До этого работало на всех осях начиная с 5.0.
Телефон даже не активируется, был оператор Sprint
А джейл встал прекрасно
[Reply]
admin Reply:
December 1st, 2014 at 11:33 pm
SAM Unlock не проверяли. Стоило вам удостовериться, что он работает.
[Reply]
FuLGoR Reply:
December 3rd, 2014 at 12:02 am
Изменились сервера активации. И теперь телефон с родной сим Sprint (AT&T) не активируется вообще
[Reply]
FuLGoR
1 Dec 14 at 9:09 pm