Step-by-step Tutorial: How to Tether Jailbreak iPod 3G Using RedSn0w 0.9.8b7b (Mac OS) [iOS 4.3.5]
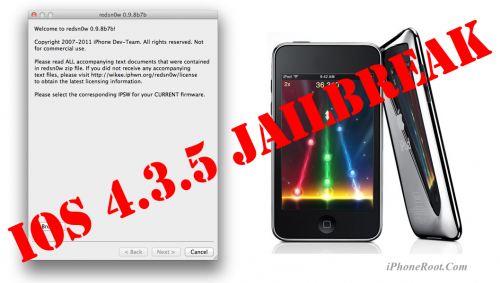
This is step-by-step instructions on how to perform tethered jailbreak of your iPod 3G on iOS 4.3.5 firmware using RedSn0w 0.9.8b7b for Mac OS.
Tethered jailbreak means that each time you restart your device you will need to connect it to a computer and run redsn0w.
If you have other device, here are links to our RedSn0w 0.9.8b7b iOS 4.3.5 jailbreak tutorials:
- Mac OS: iPhone 4, iPhone 3GS, iPad 1, iPod Touch 3G, iPod Touch 4G
- Windows: iPhone 4, iPhone 3GS, iPad 1, iPod Touch 3G, iPod Touch 4G
UPDATE: Please, consider reading our Jailbreak & Unlock FAQ, especially if you have questions or troubles.
Important information.
Please think first, before you do something.
If you have iOS 4.3.3 firmware - do an untethered jailbreak using one of our tutorials.
Step One
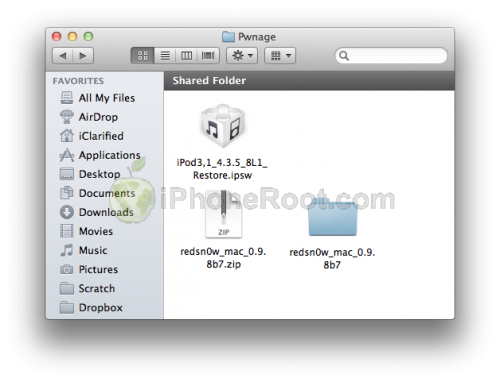
Create a folder on your desktop called Pwnage
Download RedSn0w version 0.9.8b7b or higher from here. Save it in the Pwnage folder. Likewise, download iPod 3G firmware iOS 4.3.5:
- iOS 4.3.5:
Extract the redsn0w executable from the RedSn0w zip file into the same folder by double clicking it.
Step Two
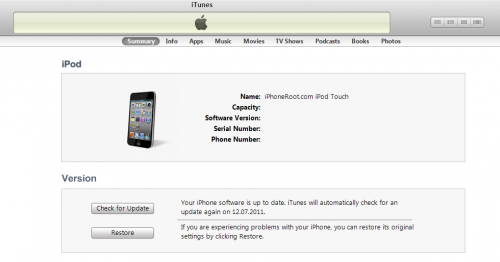
Connect your iPod 3G to the computer and launch iTunes.

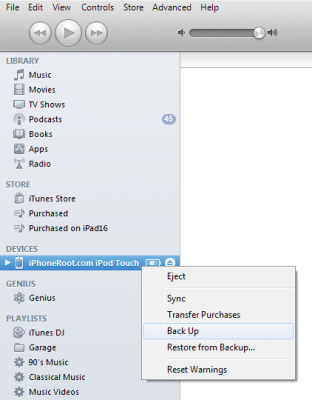
Select your iPod 3G from the list of devices on the left. Create a backup by right-clicking on iPod 3G name in Devices (iTunes left pane) and choosing Back Up.
If you are already on iOS 4.3.5 you can now skip to step three.
Now hold down Option (Mac) or Shift (Windows) key and click the Restore button.
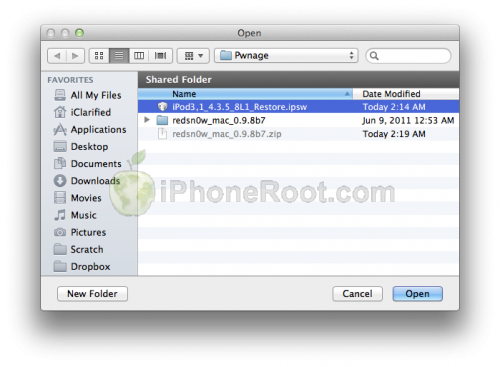
Navigate to the Pwnage folder on your desktop and select the 4.3.5 firmware ipsw. Click the Open button to continue.
Step Three
Once iTunes has finished updating your iPod 3G to the desired firmware open the Pwnage folder on your desktop and launch the redsn0w application from the redsn0w folder we extracted earlier.

Step Four
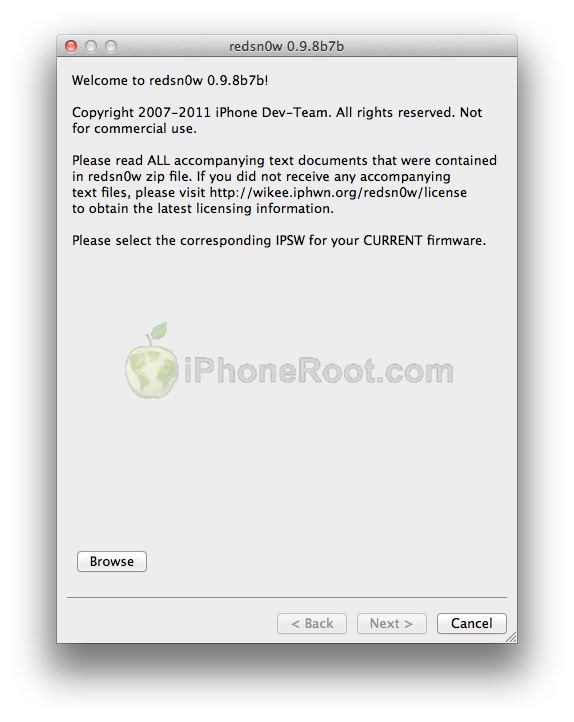
Once RedSn0w opens click the Browse button
Step Five
Select the 4.3.5 firmware ipsw we placed in the Pwnage folder on our desktop then click Open.
Step Six
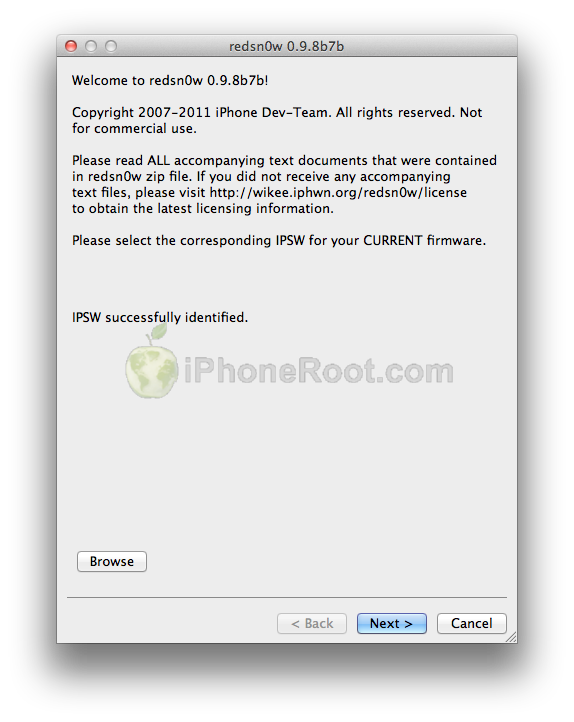
Once the firmware has been verified click the Next button to continue.
Step Seven
RedSn0w will now prepare the jailbreak data
Step Eight
From this window you can select the jailbreak options you would like.
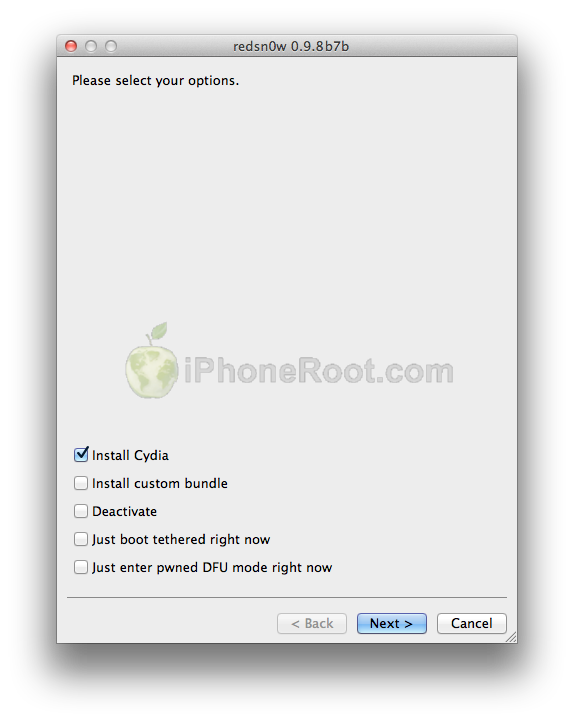
Make sure Cydia is selected.
Click the Next button to continue
Step Nine
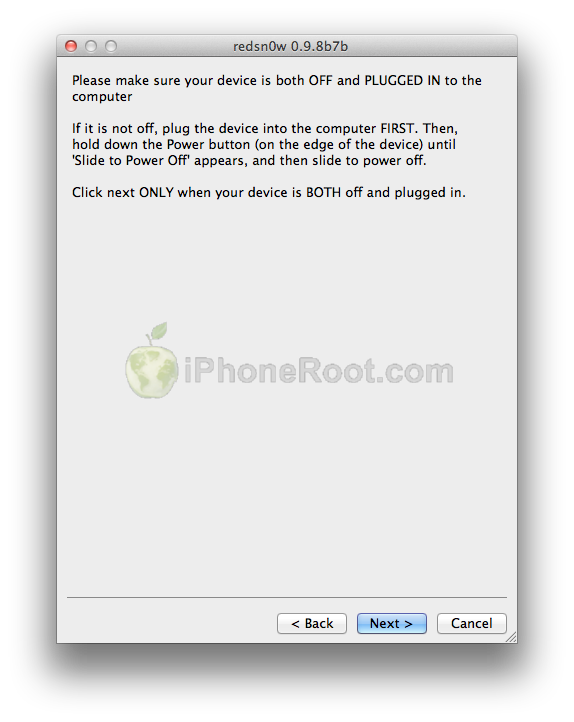
Please plug your iPod 3G into the computer and make sure its OFF then click the Next button
Step Ten
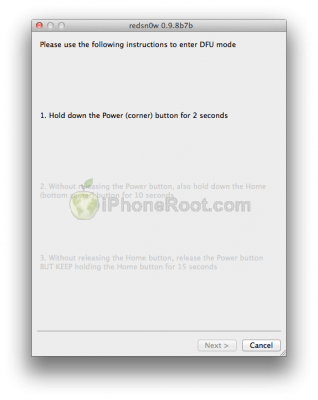
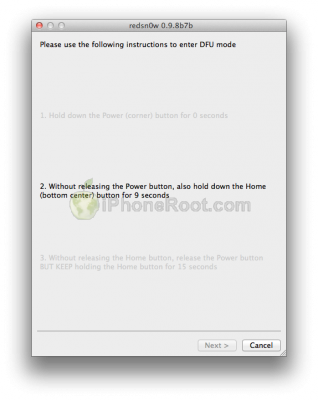
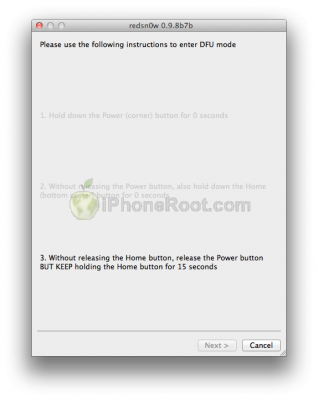
RedSn0w will now guide you through the steps to get into DFU mode.
1. Hold down Power button for 2 seconds.
2. Without releasing Power button, hold down both the Home button and the Power button for 10 seconds.
3. Release the Power button and continue holding the Home button until RedSn0w detects the device.
If you have problems try again. Here is a video showing this Step 10:
Step Eleven
iPod 3G will reboot.
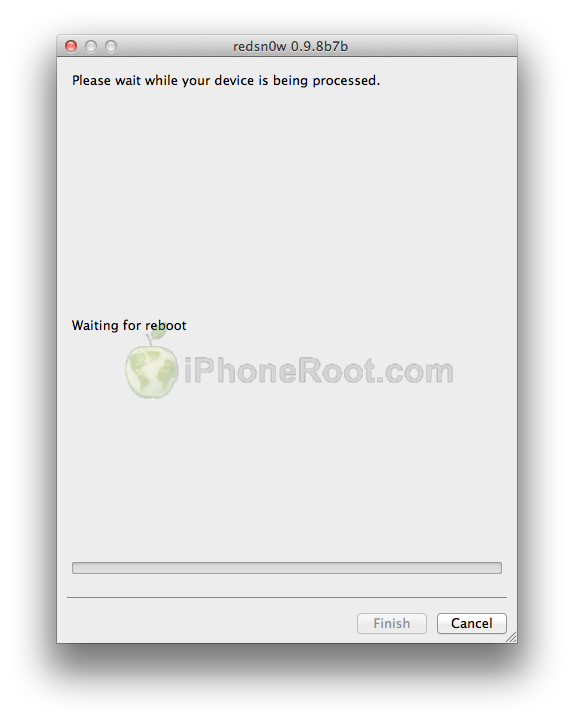
Step Twelve
RedSn0w will then begin uploading the new RAM Disk and Kernel.
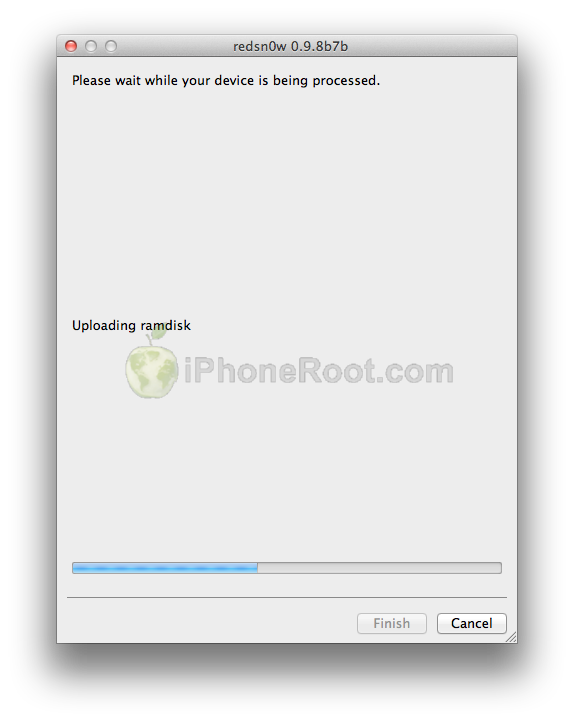
Step Thirteen
Once this is complete you will be notified that RedSn0w is done. Click the Finish button.
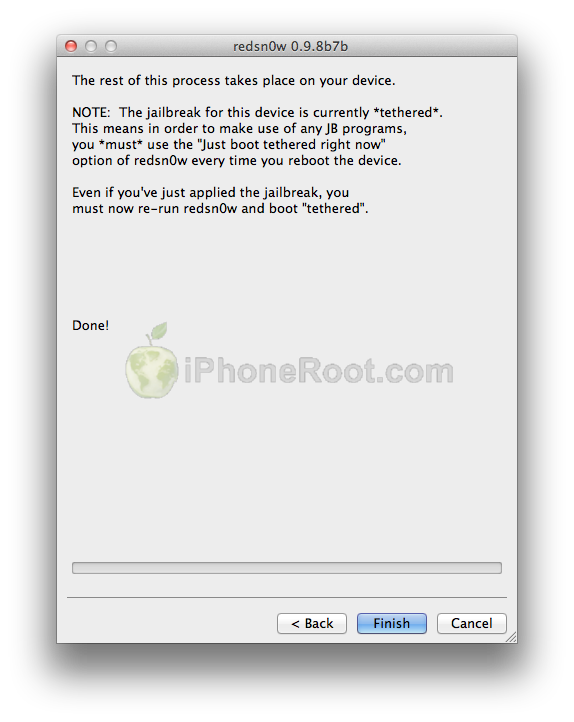
Once RedSn0w has finished you will need to boot tethered your iPod 3G. You will need to do it everytime you restart.
Rerun RedSn0w and this time select Just boot tethered right now from the list of options instead of installing Cydia.
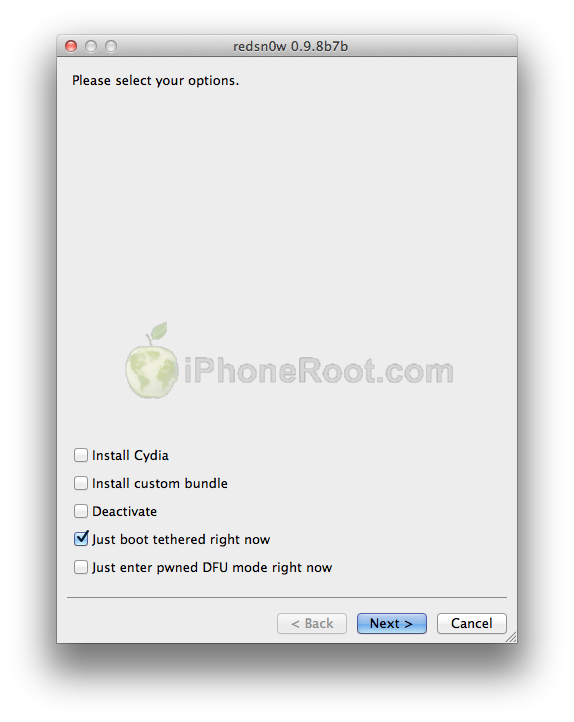
When your iPod 3G finishes rebooting (5 minutes or so) it will be jailbroken with Cydia on the SpringBoard.
Step Fourteen
Run Cydia. Let it do all the necessary updates.
To have access to the root file system of your iPod 3G (via file managers like iFunBox or iPhone Explorer) install application called afc2add in Cydia.
Step Fifteen
Do not forget to change your default password if you've installed openssh.
[via iclarified]
Follow us on :

 Leave a comment, read comments [2]
Помогите плз что-то не получается. все сделал по инструкции, в конце выходит ярлык Cydia без иконки простой белый квадрат и не работает. не заходит в него и в сафари. что делать? уже 2 раза делал одна и таже проблема???
[Reply]
admin Reply:
October 3rd, 2011 at 1:30 am
запускался через just boot tethered?
[Reply]
VillyDaBro-
2 Oct 11 at 7:49 pm