Step-by-step Tutorial: How to Untether Jailbreak and Unlock iPhone 3GS Using PwnageTool 5.0.1 (Mac OS) [iOS 5.0.1]
UPDATE: Apple released iOS 5.1 firmware. Apple has stopped signing iOS 5.0.1, so you can NOT restore to 5.0.1 any more. If you are on 5.0.1 you can jailbreak with RedSn0w.
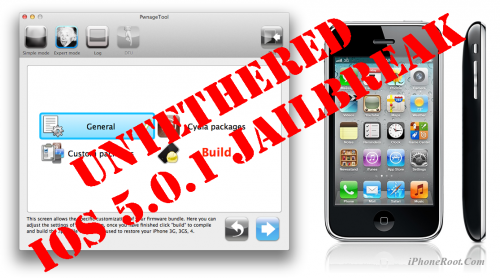
Using this tutorial you will be able to untether jailbreak iOS 5.0.1 running on iPhone 3GS. Pwnagetool will also preserve baseband version if you need carrier unlock. If you have updated the baseband to version 06.15, you can use this tutorial to update to iOS 5.0.1. This tutorial uses PwnageTool 5.0.1 for Mac OS X.
We are not developers of jailbreak utilities, so we cannot assure that everything will work just fine. However we tried this tutorial on several devices and succeeded.
UPDATE: Please, consider reading our Jailbreak & Unlock FAQ, especially if you have questions or troubles.
If you are on iOS 5.0.1 already - you can jailbreak with redsn0w.
Step One
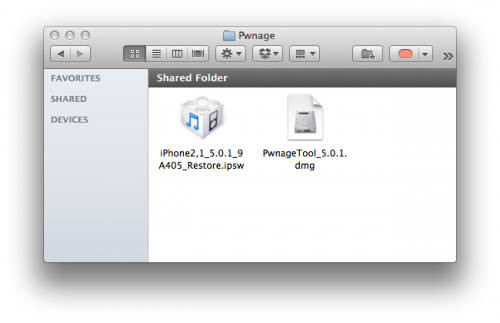
Make a folder called "Pwnage" on the desktop. Download a couple of things:
- PwnageTool 5.0.1 from here
You will also need the iOS 5.0.1 firmware.
- iPhone 3GS iOS 5.0.1:
When downloading the IPSW file, it is best to download it with Firefox since Safari often auto extracts it!
Step Two
Connect your iPhone 3GS to the computer and launch iTunes.

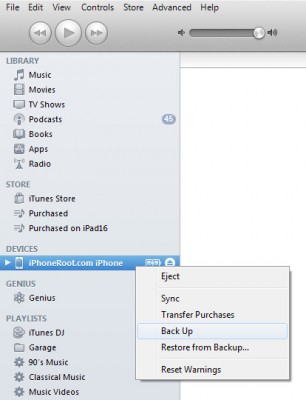
Select your iPhone from the list of devices on the left. Create a backup by right-clicking on iPhone name in Devices (iTunes left pane) and choosing Back Up.
Step Two
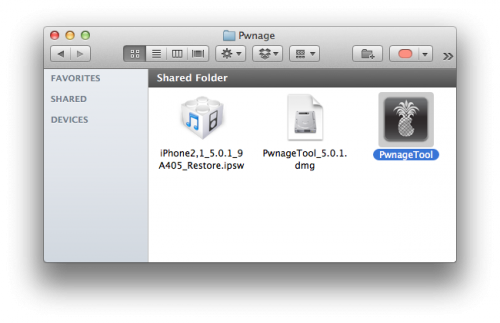
Double click to mount PwnageTool then drag the PwnageTool icon into the Pwnage folder.
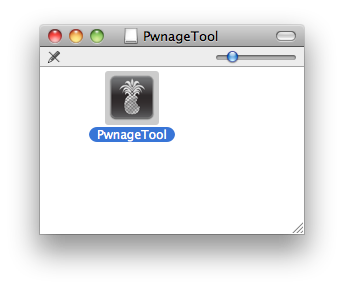
Then from the Pwnage folder double click to launch the PwnageTool application.
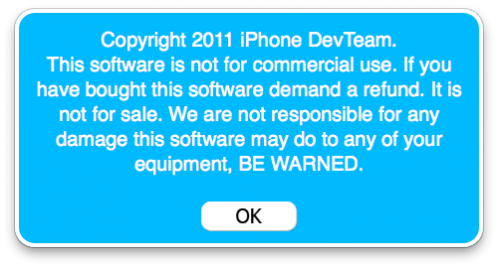
Click Ok if presented with a warning.
Step Three
Click to select Expert Mode from the top menu bar

Step Four
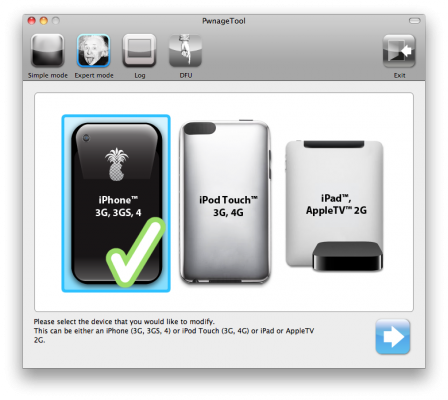
Click to select your device. A check-mark will appear over the image of the device. Click the blue arrow button to continue.
Step Five
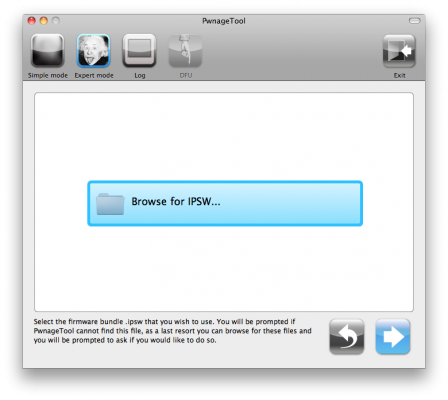
You will be brought to the "Browse for IPSW" page. Click the Browse for IPSW... button.
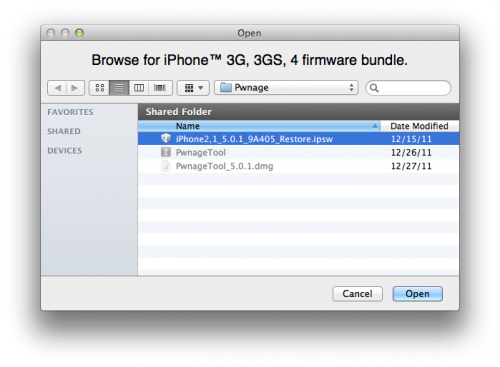
From the popup window select your iOS 5.0.1 firmware from the Pwnage folder then click the Open button.
Step Six
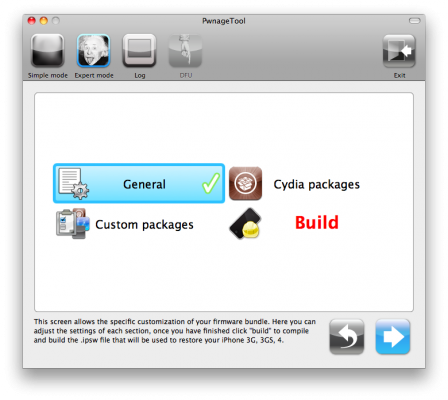
You will then be brought to a menu with several choices. Click to select General then click the blue arrow button.
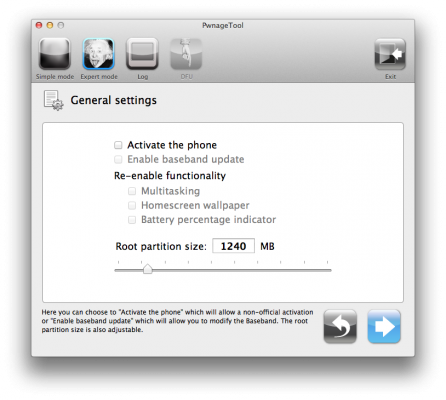
The General settings allows you to decide the partition size. Check Activate the phone if you are not with an official carrier then click the blue arrow button.
NOTE: Deselect Activate if you have an iPhone legitimately activated on an official carrier. If you have locked iPhone - select Activate the phone.
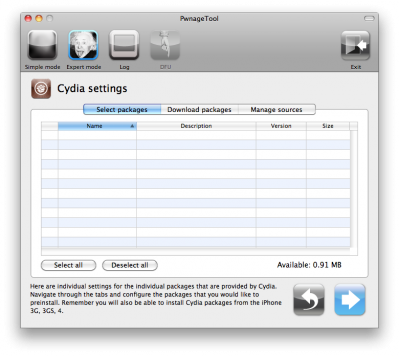
The Cydia settings menu allows you to create custom packages so you do not have to manually install the necessary them later. If you do not want to install anything here go to next step.
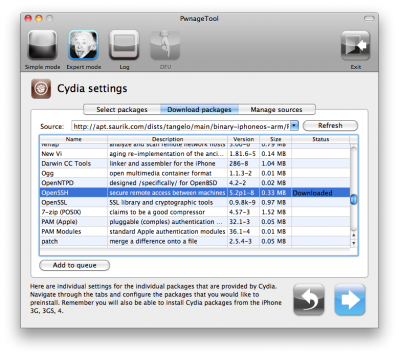
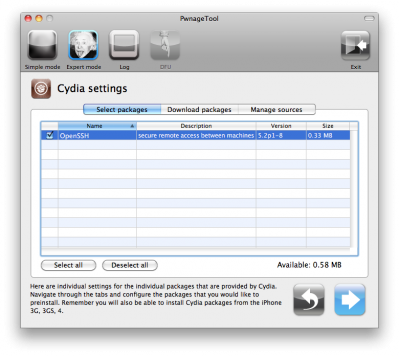
Click to select the Download packages tab. Then click the Refresh button to display all the available packages. Double clicking the package you want will download it and make it available in the Select Packages tab.
Checkmark the ones you want then click the blue arrow button.
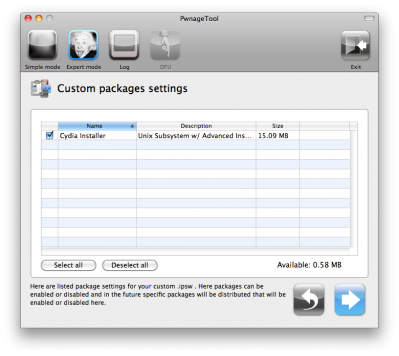
The Custom Packages Settings menu displays listed package settings for your custom IPSW. Click the blue arrow button to continue.
Click the blue arrow button to continue.
Step Seven
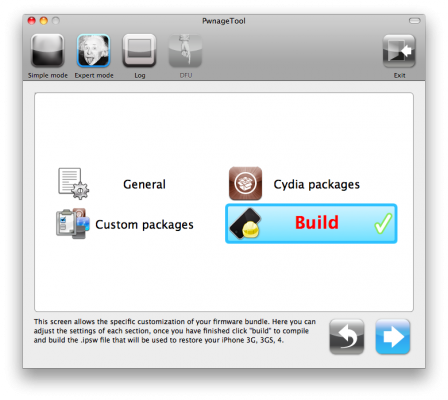
You are now ready to begin the pwnage process! Click the Build button to select it then click the Blue arrow button to begin.
Step Eight
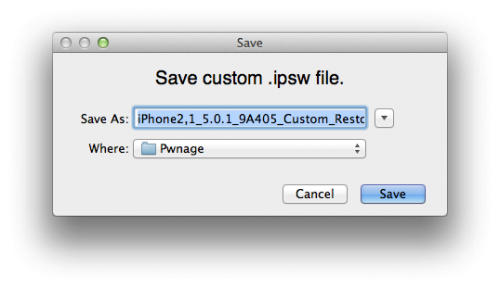
You will be asked to save your custom .ipsw file. Save it to your Pwnage folder you created on your Desktop.
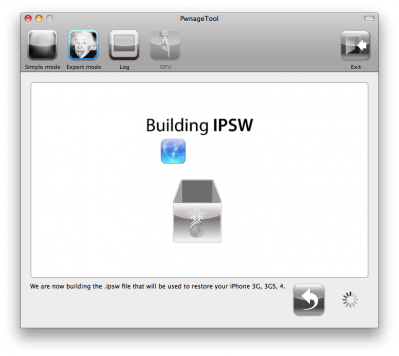
Your IPSW is now being built. Please allow up to 10 minutes.
You will be asked to enter your administrator password. Do this then click the OK button.
Step Nine
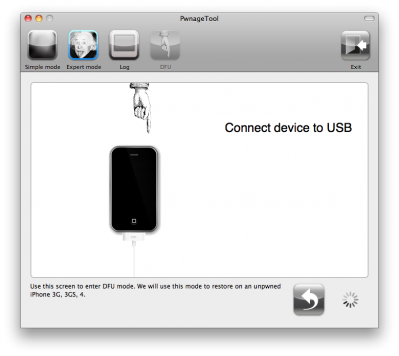
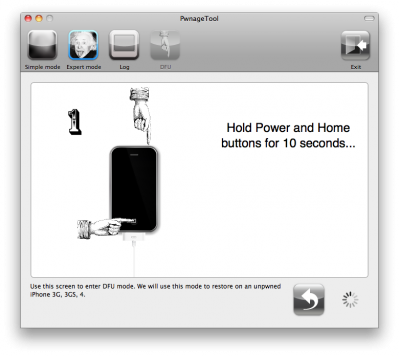
Once your ipsw has been built you will be asked to connect your iPhone to the computer. Once it detects your device PwnageTool will guide your through the steps to putting your iPhone into DFU mode.
Press and hold the power and home buttons for 10 seconds.
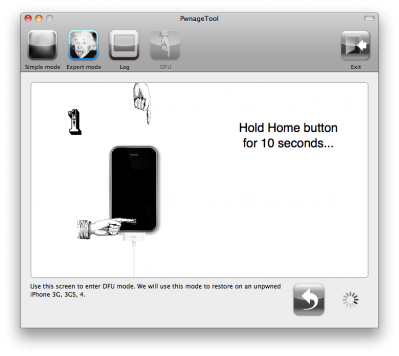
Then release the power button and continue holding the home button for 10 seconds.
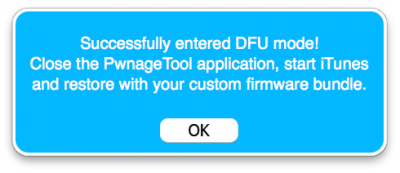
Once your iPhone is successfully in DFU mode, PwnageTool will prompt you to launch iTunes.
Step Ten
Once In iTunes, hold the Alt/Option key and click Restore.
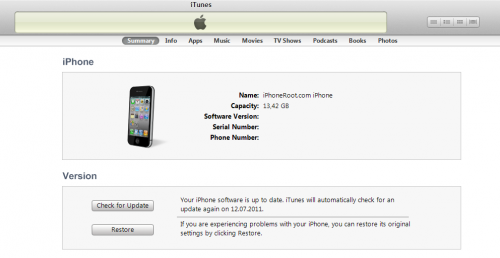
Step Eleven
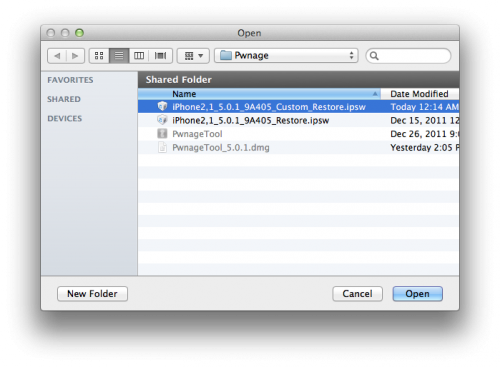
Navigate to the Pwnage folder on your desktop using the dialog window that appears. Select the custom IPSW that was created and click the Choose button.
Step Twelve
iTunes will now restore the firmware on your iPhone. This can also take up to 10 minutes. Once done you will be rebooted into jailbroken iOS 5.0.1!
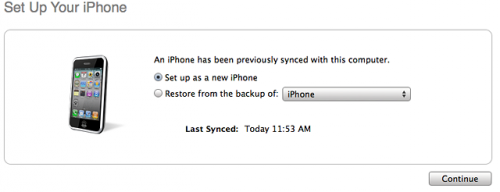
iTunes will ask if you want to setup your iPhone as a new device or restore from the backup. Choose Restore from Backup if you want to preserve your contacts and other information.
Step Thirteen
When your iPhone has restarted you can run Cydia. Let it do all the necessary updates.
Step Fourteen
To have access to the root file system of your iPhone (via file managers like iFunBox or iPhone Explorer) install application called afc2add in Cydia.
Step Fifteen
If you need carrier unlock – install ultrasn0w via Cydia (if you do not need carrier unlock skip this step). Ultrasn0w supports iPhone 4 baseband 01.59.00 and iPhone 3G/3GS basebands 04.26.08, 05.11.07, 05.12.01, 05.13.04, 06.15.00.
- Open Cydia.
- Go to Manage than click Sources.
- If you see repository http://repo666.ultrasn0w.com, go to step 8.
- Click Edit button in the top right corner.
- Then click Add button in the top left corner.
- Type http://repo666.ultrasn0w.com and click Add Source.
- Then click Done.
- Click on on newly created repository http://repo666.ultrasn0w.com.
- Click on ultrasn0w and hit Install button in the top right. (if you do not see ultrasn0w, go to Search and find it there).
- One installed, restart your iPhone.
- Disable 3G on T-Mobile USA.
- You're done! You should see the network.
Step Sixteen
Do not forget to change your default password if you've installed openssh.
[via iclarified]
Follow us on :
 Leave a comment, read comments [9]
Тело неативированное получается и требует "правильную" симку ((
3GS, 39ая неделя 2009г, UK
[Reply]
admin Reply:
January 17th, 2012 at 9:25 am
необходимо ставить галку активация при создании прошивки.
[Reply]
Nick
17 Jan 12 at 9:19 am
К сожалению требует вставить правильную симку.
Не предлагает восстановления данных, как сказано в пункте 12.
И не важно - стоит галка активации или нет.
Пробовал несколько вариантов.
Возможно всё дело в версии MacOS?
У меня 10.7.2 и iTunes 10.5.5(11).
[Reply]
admin Reply:
January 23rd, 2012 at 8:00 pm
Ставили ли вы галку на активации при создании прошивки? Вы уверены,
что прошивали именно созданную кастом прошивку?
Если так, то рекомендуем запустить redsn0w (есть и под mac os) и
пройти весь путь, только убрать все галки (в частност с Install
Cydia), он сделает хактивацию. Процесс одинаков, что под Windows, что
под Mac OS. Инструкция здесь:
,
шаг 2 обновления на 5.0.1 нужно пропустить.
Также можно сделать кастом прошивку с помощью redns0w (mac/win) или
sn0wbreeze (win).
[Reply]
NektoSlava
23 Jan 12 at 6:15 pm
та же фигня-требует симку
а редсноу не работает, выдает еррор no succesfulfrmare download after 60000ms! giving up
зха сим и прекращает
трижды уже все заново делалось
[Reply]
admin Reply:
February 8th, 2012 at 1:08 am
ну еще вариант - sn0wbreeze 2.9.1
[Reply]
bbtheory
7 Feb 12 at 12:55 am
спасибо, он немного ожил, до состояния айпода
сети нет по-прежнему, однако, и реакций на дерганье симки тоже
[Reply]
bbtheory
9 Feb 12 at 1:15 am
"Ultrasn0w поддерживает iPhone 3G/3GS baseband 04.26.08, 05.11.07, 05.12.01, 05.13.04, 06.15.00."
Что делать, если версия модема другая? Есть надежда, что появится анлок на все модемы, а не только на перечисленные?
[Reply]
admin Reply:
March 19th, 2012 at 10:04 pm
на данный момент поддерживаются только перечисленные модемы. это значит, что все остальные не поддерживаются. будут ли в будущем - неизвестно, хакеры работают над анлоком других модемов, но результатов пока нет. и этот список не менялся уже очень давно.
[Reply]
TeoMax
19 Mar 12 at 11:44 am