Step-by-step Tutorial: How to Jailbreak and Unlock Your iPhone 3GS Using PwnageTool 4.1.3 (Mac OS) [iOS 4.1]
UPDATE: Please think first, before you do something.
UPDATE 2: If you have 05.13 baseband or lower - do not update! Use PwnageTool.
UPDATE 3: If you have 4.1 and 3gs with new bootrom, do not update to 4.2.1, create custom 4.1 firmware using pwnagetool.
UPDATE 4: WARNING: updating to iPad baseband for iPhone unlock may disable your GPS
UPDATE: Please, consider reading our Jailbreak & Unlock FAQ, especially if you have questions or troubles.
These are instructions on how to jailbreak and unlock your iPhone 3GS on iOS 4.1 using PwnageTool 4.1.3 for Mac OS X. This tutorial will explain how to upgrade your baseband if needed for an unlock.
For iPhone 3G use this tutorial.
There is no unthethered jailbreak for new iPhone 3GS bootroms and iOS 4.2.1 yet, so you should stay at iOS 4.1.
Important: iPhone3GS users with old bootroms who want to go to 4.2.1 and unlock should not use this PwnageTool! Update to stock 4.2.1 first, then use new redsn0w to update your baseband.
Step One
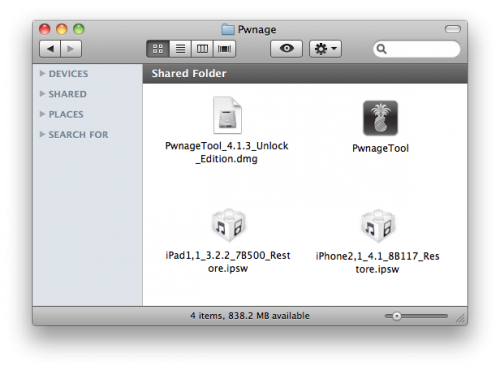
Make a folder called "Pwnage" on the desktop. Download a couple of things:
- PwnageTool 4.1.3 from here
You will also need the 4.1 iPhone firmware.
- iPhone 3GS iOS 4.1:
If you are on the 05.14 or 05.15 baseband you will also need the iPad 3.2.2 firmware. You can find out your baseband version in Settings -> General -> About -> Modem Firmware.
- iPad iOS 3.2.2:
When downloading the IPSW file, it is best to download it with Firefox since Safari often auto extracts it!
Step Two
Double click to mount PwnageTool then drag the PwnageTool icon into the Pwnage folder.
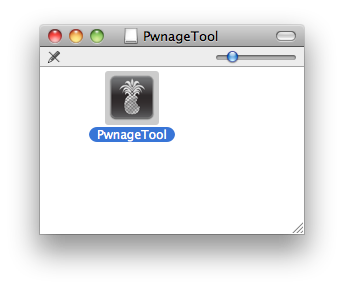
Then from the Pwnage folder double click to launch the PwnageTool application.
![]()
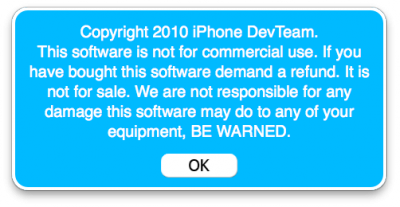
Click Ok if presented with a warning.
Step Three
Click to select Expert Mode from the top menu bar

Step Four
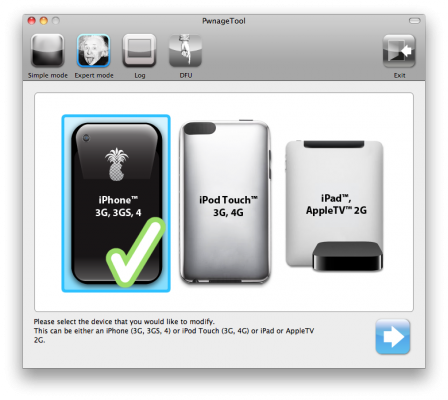
Click to select your device. A check-mark will appear over the image of the device. Click the blue arrow button to continue.
Step Five
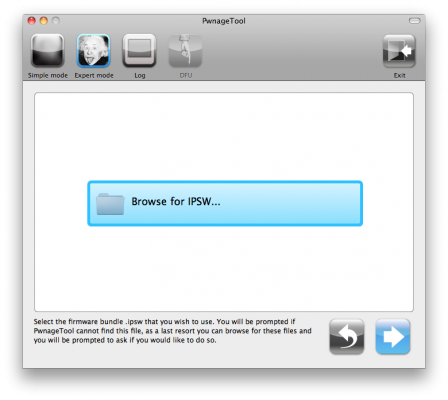
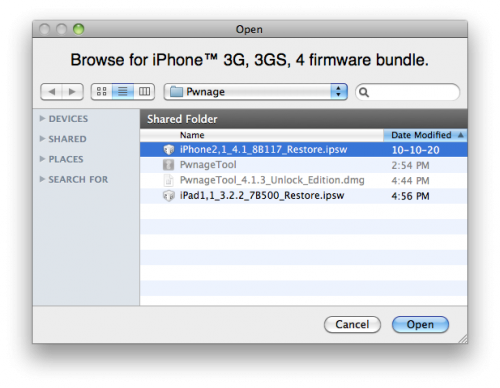
You will be brought to the "Browse for IPSW" page. Click the Browse for IPSW... button.
From the popup window select your firmware from the Pwnage folder then click the Open button.
Step Six
You will now be asked if you want to update your baseband to the 06.15 version. If you are on 05.14 or 05.15 or higher you will need to do this to unlock. You do not need to do this for jailbreak only.
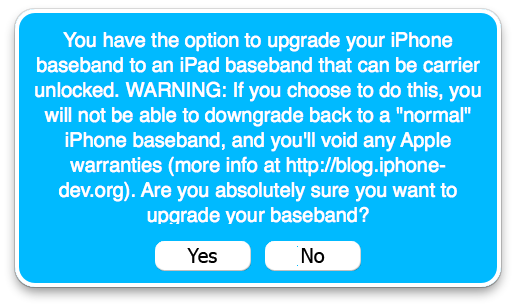
Please read the following very carefully before deciding whether to do this.
1. There is no way to come back down from 06.15, and there’s no hiding the baseband version from Apple. You’ll be voiding your warranty in a very obvious way.
2. If some future baseband comes out with a critical fix, you won’t be able to update to it if it remains down in the 05.xx sequence (then again, you wouldn’t update to it if you wanted to keep your unlock anyway).
3. If you have 06.15 on your iPhone you won’t ever be able to restore to stock firmware (it will fail). You’ll need to only restore to custom IPSWs (then again, if you’re unlocker you should already be doing that).
Don’t update to 06.15 if you don’t need to! Only do this if you need the unlock and you’re stuck on 05.14 or 05.15, and you’re willing to assume the above risks.
If you pressed YES then click the Browse for IPSW... button.
From the popup window select the iPad 3.2.2 firmware from the Pwnage folder then click the Open button.
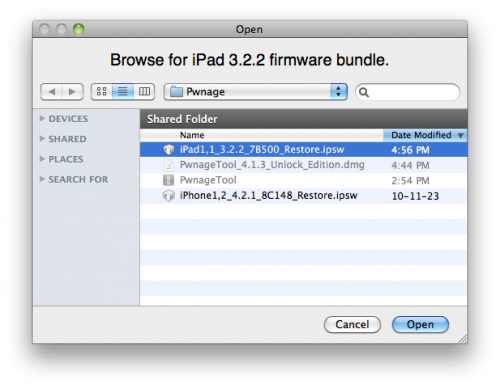
Step Seven
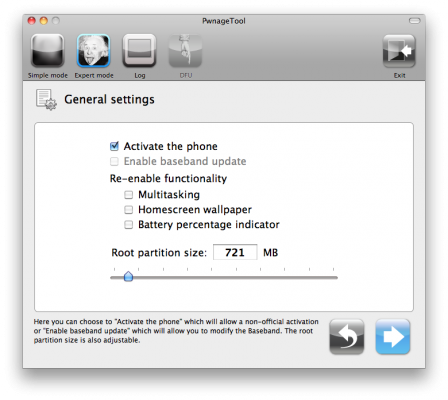
You will then be brought to a menu with several choices. Click to select General then click the blue arrow button.
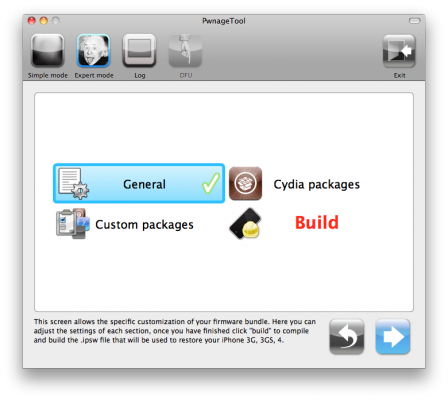
The General settings allows you to decide the partition size. Check Activate the phone if you are not with an official carrier then click the blue arrow button. Here you can also choose to enable iOS 4 features such as Multitasking, Wallpapers, and Battery Percentage. If you choose to do this please be aware that the performance of your device could suffer.
NOTE*: Deselect Activate if you have an iPhone legitimately activated on an official carrier.
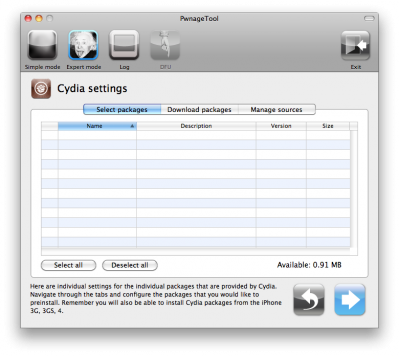
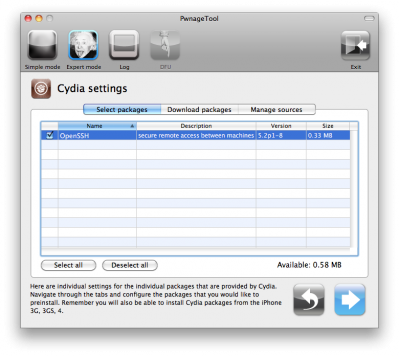
The Cydia settings menu allows you to create custom packages so you do not have to manually install the necessary them later. If you do not want to install anything here go to next step.
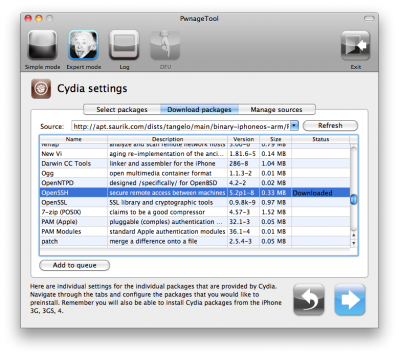
Click to select the Download packages tab. Then click the Refresh button to display all the available packages. Double clicking the package you want will download it and make it available in the Select Packages tab.
Checkmark the ones you want then click the blue arrow button.
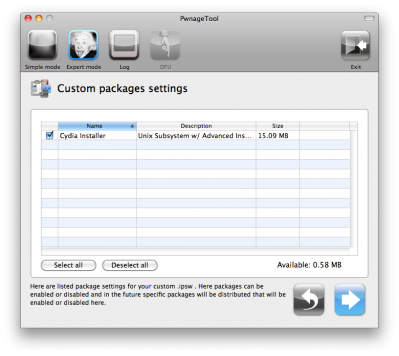
The Custom Packages Settings menu displays listed package settings for your custom IPSW. Click the blue arrow button to continue.
Step Eight
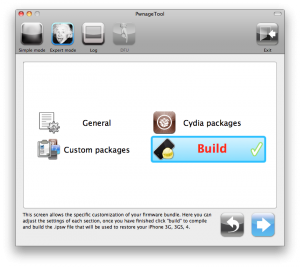
You are now ready to begin the pwnage process! Click the Build button to select it then click the Blue arrow button to begin.
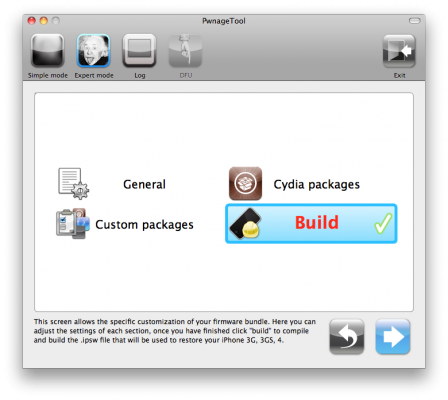
Step Nine
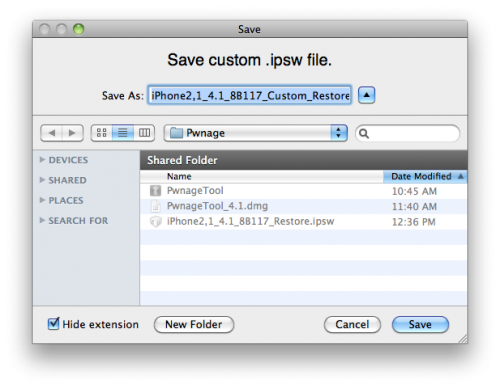
You will be asked to save your custom .ipsw file. Save it to your Pwnage folder you created on your Desktop.
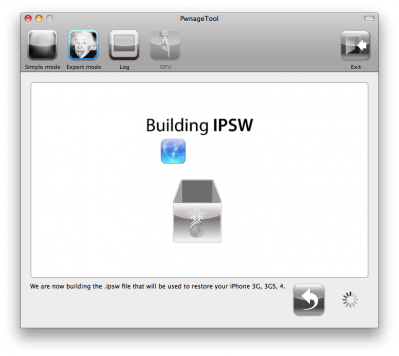
Your IPSW is now being built. Please allow up to 10 minutes.
You will be asked to enter your administrator password. Do this then click the OK button.
Step Ten
When prompted if your iPhone has been Pwned before, we clicked No. It allows for a more thorough restore.
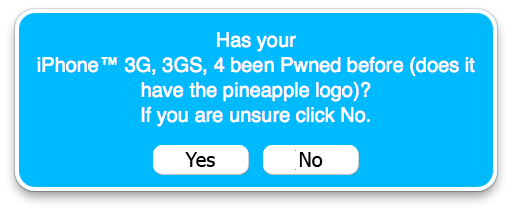
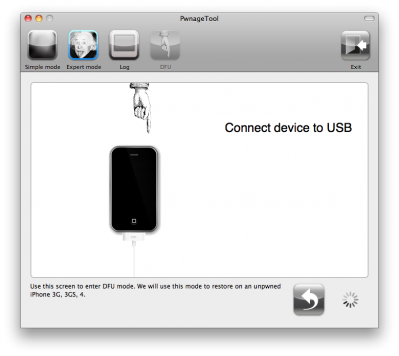
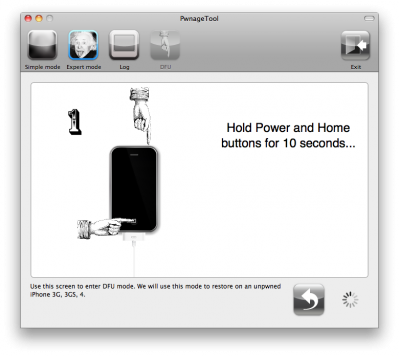
Once your ipsw has been built you will be asked to connect your iPhone to the computer. Once it detects your device PwnageTool will guide your through the steps to putting your iPhone into DFU mode.
Press and hold the power and home buttons for 10 seconds.
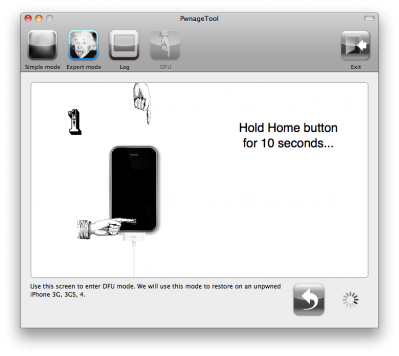
Then release the power button and continue holding the home button for 10 seconds.
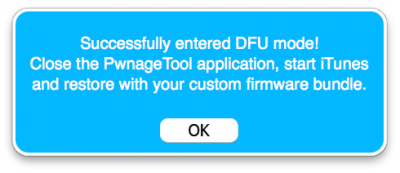
Once your iPhone is successfully in DFU mode, PwnageTool will prompt you to launch iTunes.
Step Eleven
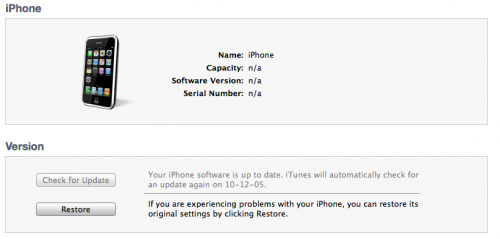
Once In iTunes, hold the Alt/Option key and click Restore.
Step Twelve
Navigate to the Pwnage folder on your desktop using the dialog window that appears. Select the custom IPSW that was created and click the Choose button.
Step Thirteen
iTunes will now restore the firmware on your iPhone. This can also take up to 10 minutes. Once done you will be rebooted into jailbroken iOS 4.1!
Step Fourteen
When your iPhone has restarted you can run Cydia. Let it do all the necessary updates.
To have access to the root file system of your iPhone (via file managers like iFunBox or iPhone Explorer) install application called afc2add in Cydia.
Step Fifteen
If you need unlock – install ultrasn0w via Cydia:
- Open Cydia.
- Go to Manage than click Sources.
- Click Edit button in the top right corner.
- Then click Add button in the top left corner.
- Type http://repo666.ultrasn0w.com and click Add Source.
- Then click Done and press on newly created repository.
- Click on ultrasn0w and hit Install button in the top right.
- One installed, restart your iPhone.
- Disable 3G on T-Mobile USA.
- You're done! You should see the network.
Step Sixteen
Do not forget to change your default password if you've installed openssh.
[via iclarified]
Follow us on :
 Leave a comment, read comments [15]
ошибка в описании
Вам также понадобится прошивка >>>iOS 4.2.1<<>>iOS 4.1<<<:
это раз.
а что по поводу 4.2.1 на 3GS никто не скажет?
[Reply]
admin Reply:
November 30th, 2010 at 12:37 am
спасибо. поправил.
[Reply]
nyak
29 Nov 10 at 11:33 pm
При выборе скомпилированной прошивки в тюнце происходит такая тема: если интернет отключен пишет "В настоящий момент восстановить айфон не удается, так как не удалось установить связь с сервером обновления ПО айфон или сервер временно недоступен". Логично. Подключаю интернет. В тюнце выбираю скомпилированную прошивку. Тюнц выдает "Не удалось восстановить айфон. This device isn't eligible for the requested build", типа прав не имею короче.
ЧТО ДЕЛАТЬ? АЙФОН 3GS 4.1 05.14.02 у меня. Благодарю заранее.
[Reply]
RobotSmith Reply:
November 30th, 2010 at 6:17 pm
Говорят надо как то доступ к проверке на серваке эпла обойти. Не подскажете кто-нибудь, как это делается? Или ссыль киньте на данную тему. У меня мак ось если что. Благо дарю заранее!
[Reply]
nyak Reply:
November 30th, 2010 at 9:48 pm
эмм всегда обновлялся без проблем. в том-то и прикол,что PwnageTool собирает такой ipsw, который проходит валидацию на сервере Apple...
[Reply]
nyak Reply:
November 30th, 2010 at 9:52 pm
проверьте исходный ipsw.
скорее всего вы скачали iPhone1,2_4.1_...
тоесть версию для iPhone 3G
файл для iPhone 3Gs (тоесть ваш) будет называться
iPhone2,1_4.1_8B117_Restore.ipsw
(первая цифра "2")
[Reply]
nyak Reply:
November 30th, 2010 at 9:53 pm
ну или наоборот, у вас не 3Gs а 3G а вы его пытаетесь прошить софтом от 3GS.
[Reply]
RobotSmith Reply:
December 1st, 2010 at 9:16 am
Да нет. Все верно с прошивкой - iPhone2,1_4.1_8B117_Restore.ipsw у меня.
Может дело в том что он у меня уже джейлбрэйкнутый был. На нем сейчас уже сидия стоит, и поэтому немогу перепрошиться?
[Reply]
RobotSmith
30 Nov 10 at 2:31 pm
А когда в режиме дфу к компу подключаю он не показывает экрана "тюнц со шнурком".
[Reply]
RobotSmith Reply:
December 1st, 2010 at 11:20 am
Короче, прошил, но через терминал пришлось пару апишников перекрывать, чтобы не спалили на эпле. НО СЕТЬ СУКА ВСЁ РАВНО НЕ ПОЯВИЛАСЬ!!! У же незнаю что делать...
Что значит строка "Для T-Mobile USA выключите 3G."?
[Reply]
RobotSmith Reply:
December 2nd, 2010 at 4:01 pm
Разобрался. В домашних условиях почему-то не повышался модэм. За восемь соток починили. Всех спасибо!
[Reply]
RobotSmith
1 Dec 10 at 9:19 am
У вас ошибка в фразе===
Выскочит окно, в котором необходимо выбрать скачанную прошивку 4.2.1 в папке Pwnage. Нажмите кнопку Open.
вместо 4.2.1 нужно я так думаю 4.1.0
[Reply]
admin Reply:
December 23rd, 2010 at 12:19 pm
спасибо. исправил.
[Reply]
svnuchko
23 Dec 10 at 11:56 am
а можно ли этой же утилитой прошить 4.2.1?
[Reply]
admin Reply:
February 4th, 2011 at 4:22 pm
да. но лучше подождать новой версии, где джейл будет отвязанным. greenpois0n с новым методом джейла вышел. планируется новая версия pwnagetool.
[Reply]
Maks
3 Feb 11 at 10:54 pm