Step-by-step Tutorial: How to Untether Jailbreak iPhone 3GS Using PwnageTool 4.3.3.1 (Mac OS) [iOS 4.3.3]
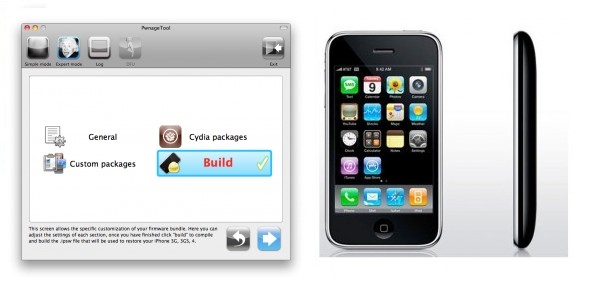
Using this tutorial you will be able to untether jailbreak iOS 4.3.3 running on iPhone 3GS. Pwnagetool will also preserve baseband version if you need carrier unlock. If you have updated the baseband to version 06.15, you can use this tutorial to update to iOS 4.3.3. This tutorial uses PwnageTool 4.3.3.1 for Mac OS X.
We are not developers of jailbreak utilities, so we cannot assure that everything will work just fine. However we tried this tutorial on several devices and succeeded.
UPDATE: Please, consider reading our Jailbreak & Unlock FAQ, especially if you have questions or troubles.
UPDATE: Apple released iOS 4.3.4 that is only tethered jailbreakable. Apple has stopped signing iOS 4.3.3, so you can NOT restore to 4.3.3 any more (both original and custom), unless you have saved your SHSH keys for 4.3.3.
If you are on 4.3.3 already - jailbreak with redsn0w or jailbreakme.
Proceed only if you have iOS 4.3.3 SHSH keys saved.
Step One
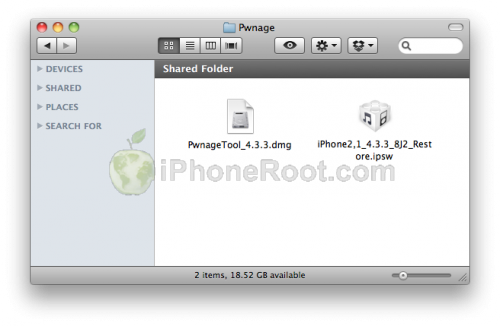
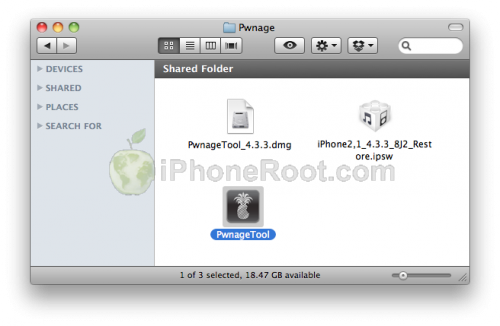
Make a folder called "Pwnage" on the desktop. Download a couple of things:
- PwnageTool 4.3.3.1 from here
You will also need the 4.3.3 firmware.
- Download iPhone 3GS iOS 4.3.3:
When downloading the IPSW file, it is best to download it with Firefox since Safari often auto extracts it!
Step Two
Double click to mount PwnageTool then drag the PwnageTool icon into the Pwnage folder.
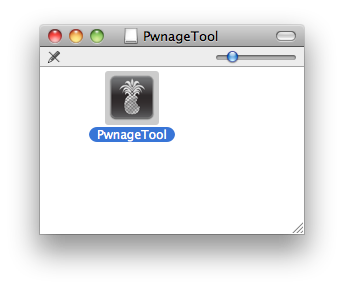
Then from the Pwnage folder double click to launch the PwnageTool application.
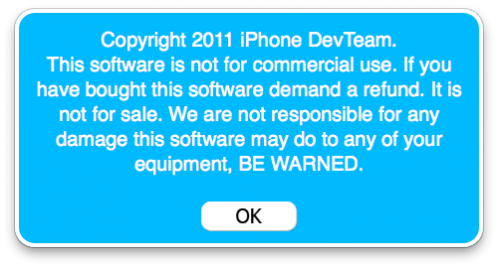
Click Ok if presented with a warning.
Step Three
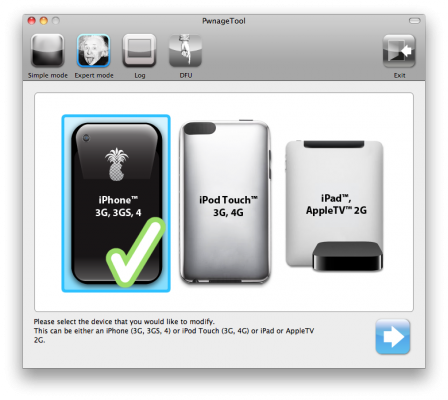
Click to select Expert Mode from the top menu bar

Step Four
Click to select your device. A check-mark will appear over the image of the device. Click the blue arrow button to continue.
Step Five
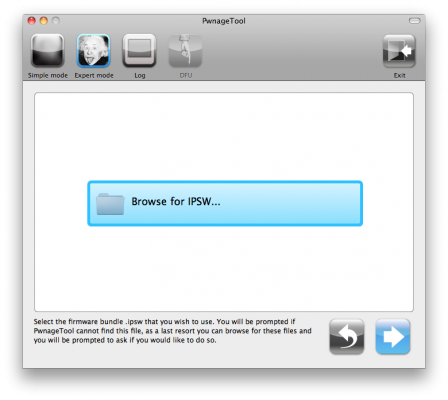
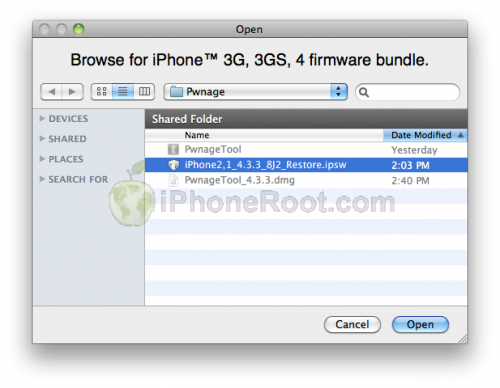
You will be brought to the "Browse for IPSW" page. Click the Browse for IPSW... button.
From the popup window select your iOS 4.3.3 firmware from the Pwnage folder then click the Open button.
Step Six
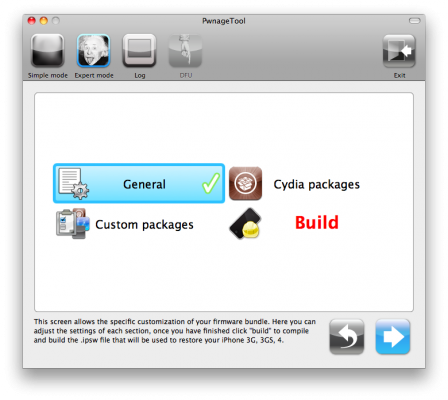
You will then be brought to a menu with several choices. Click to select General then click the blue arrow button.
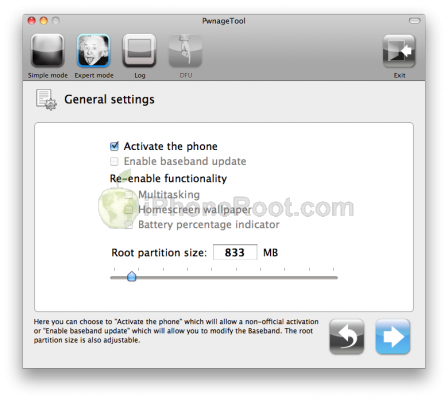
The General settings allows you to decide the partition size. Check Activate the phone if you are not with an official carrier then click the blue arrow button.
NOTE*: Deselect Activate if you have an iPhone legitimately activated on an official carrier.
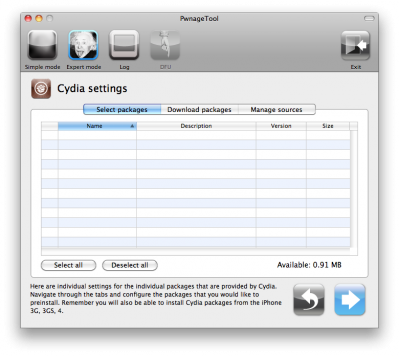
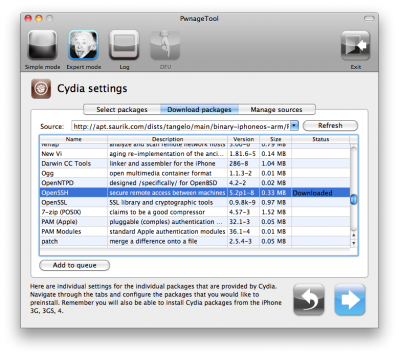
The Cydia settings menu allows you to create custom packages so you do not have to manually install the necessary them later. If you do not want to install anything here go to next step.
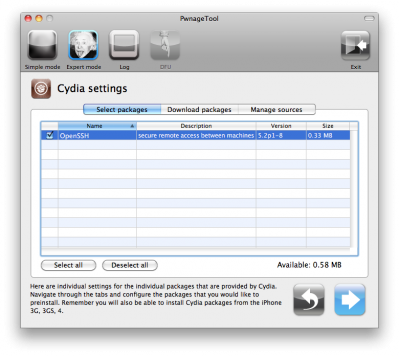
Click to select the Download packages tab. Then click the Refresh button to display all the available packages. Double clicking the package you want will download it and make it available in the Select Packages tab.
Checkmark the ones you want then click the blue arrow button.
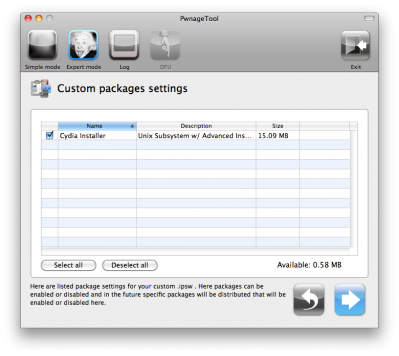
The Custom Packages Settings menu displays listed package settings for your custom IPSW. Click the blue arrow button to continue.
Click the blue arrow button to continue.
Step Seven
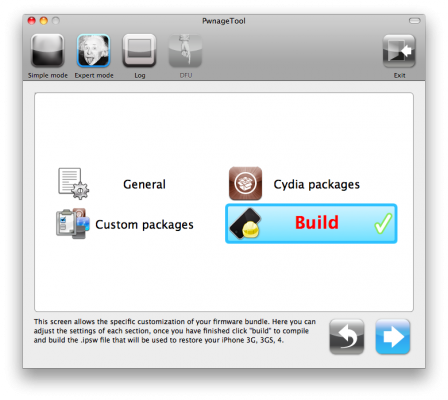
You are now ready to begin the pwnage process! Click the Build button to select it then click the Blue arrow button to begin.
Step Eight
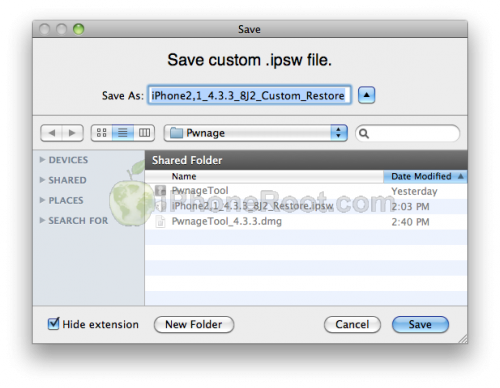
You will be asked to save your custom .ipsw file. Save it to your Pwnage folder you created on your Desktop.
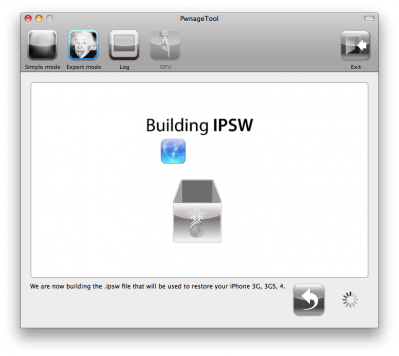
Your IPSW is now being built. Please allow up to 10 minutes.
You will be asked to enter your administrator password. Do this then click the OK button.
Step Nine
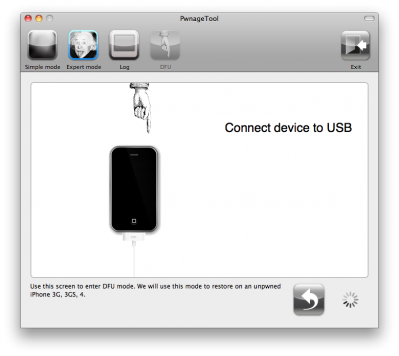
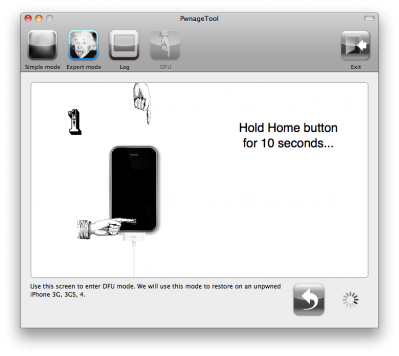
Once your ipsw has been built you will be asked to connect your iPhone to the computer. Once it detects your device PwnageTool will guide your through the steps to putting your iPhone into DFU mode.
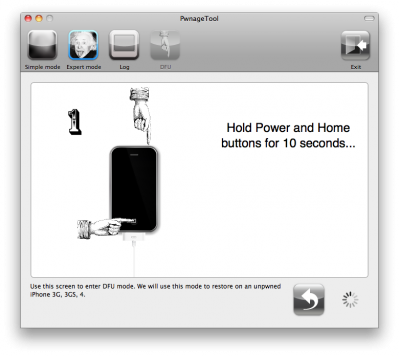
Press and hold the power and home buttons for 10 seconds.
Then release the power button and continue holding the home button for 10 seconds.
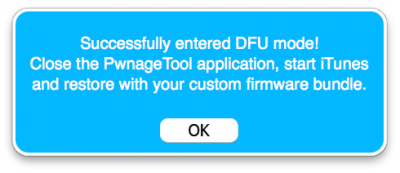
Once your iPhone is successfully in DFU mode, PwnageTool will prompt you to launch iTunes.
Step Ten
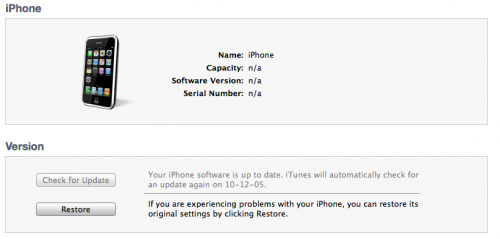
Once In iTunes, hold the Alt/Option key and click Restore.
Step Eleven
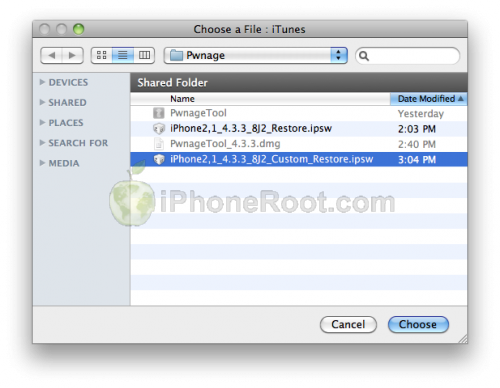
Navigate to the Pwnage folder on your desktop using the dialog window that appears. Select the custom IPSW that was created and click the Choose button.
Step Twelve
iTunes will now restore the firmware on your iPhone. This can also take up to 10 minutes. Once done you will be rebooted into jailbroken iOS 4.3.3!
Step Thirteen
When your iPhone has restarted you can run Cydia. Let it do all the necessary updates.
To have access to the root file system of your iPhone (via file managers like iFunBox or iPhone Explorer) install application called afc2add in Cydia.
Step Fourteen
If you need carrier unlock – install ultrasn0w via Cydia (if you do not need carrier unlock skip this step). Ultrasn0w supports iPhone 4 baseband 01.59.00 and iPhone 3G/3GS basebands 04.26.08, 05.11.07, 05.12.01, 05.13.04, 06.15.00.
- Open Cydia.
- Go to Manage than click Sources.
- If you see repository http://repo666.ultrasn0w.com, go to step 8.
- Click Edit button in the top right corner.
- Then click Add button in the top left corner.
- Type http://repo666.ultrasn0w.com and click Add Source.
- Then click Done.
- Click on on newly created repository http://repo666.ultrasn0w.com.
- Click on ultrasn0w and hit Install button in the top right.
- One installed, restart your iPhone.
- Disable 3G on T-Mobile USA.
- You're done! You should see the network.
Step Fifteen
Do not forget to change your default password if you've installed openssh.
[via iclarified]
Follow us on :
 Leave a comment, read comments [6]
Version of iTunce ? 8.0.2.20 ?
[Reply]
Rezo
8 Aug 11 at 10:05 am
у меня короче iTunce не дает использовать уже созданную прошивку говорит что у меня не все в порядке с документами +)))) айфн серый
[Reply]
admin Reply:
August 9th, 2011 at 12:01 am
сверху внимательно читали?
SHSH есть?
[Reply]
Rezo
8 Aug 11 at 11:00 am
Нет SHSH для 4.3.3
А можно ли обновиться на PwnageTool-custom прошивку 4.3.5 с unlock GSM, если мне не нужен jailbreak?
[Reply]
admin Reply:
August 26th, 2011 at 7:16 pm
что имеется в виду под unlock GSM? анлок нужен? софтварный или турбосим/грэви?
PwnageTool для 4.3.5 нету. Есть бандл сторонний к нему.
Заработает ли ultrasn0w с 4.3.5 тоже не понятно.
[Reply]
Guy
26 Aug 11 at 6:24 pm
helped me, so thank you so much.
[Reply]
personal 3d viewer
30 Jul 13 at 1:47 pm