Step-by-step Tutorial: How to Tether Jailbreak iPod Touch 4G Using Sn0wBreeze 2.9.7 (Windows) [iOS 6.0.1]
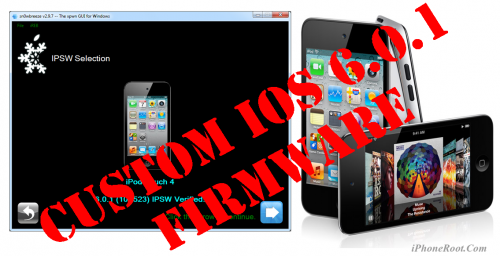
Using this tutorial you will be able to create a custom firmware, tether jailbreak iOS 6.0.1 running on iPod Touch 4G. This tutorial uses Sn0wBreeze 2.9.7 for Windows.
Tethered jailbreak means that each time you restart your device you will need to connect it to a computer and run iBooty.
We are not developers of jailbreak utilities, so we cannot assure that everything will work just fine. However we tried this tutorial on several devices and succeeded.
UPDATE: Please, consider reading our Jailbreak & Unlock FAQ, especially if you have questions or troubles.
Important information.
- Please think first, before you do something.
- If you are on 5.1.1 you can untether jailbreak it.
Step One
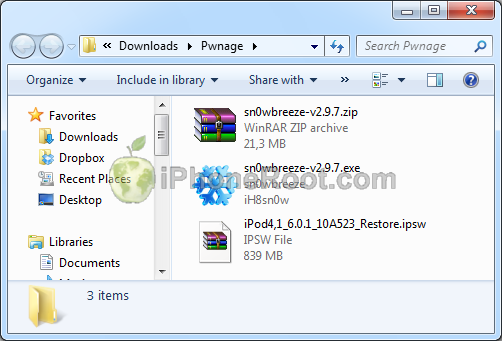
Make a folder called "Pwnage". Download a couple of things:
- Download Sn0wBreeze 2.9.7 or higher here.
- Download iOS 6.0.1 for iPod Touc 4G: .
Extract the Sn0wBreeze executable from zip archive.
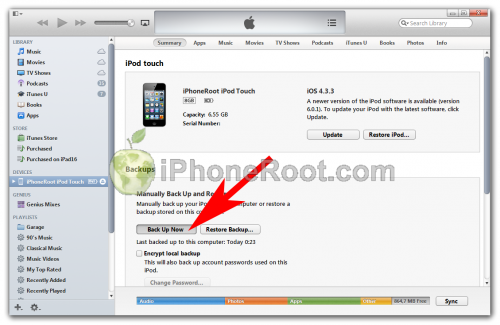
Connect your iPod Touch to the computer and launch iTunes.
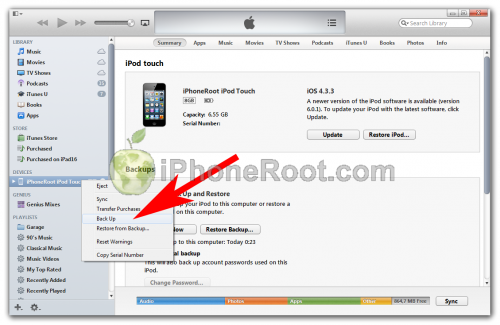
Select your iPod Touch from the list of devices on the left.In iTunes 11 to activate left panel press Ctrl+S.
Create a backup by right-clicking on iPod Touch name in Devices (iTunes left pane) and choosing Back Up. In iTunes 11 you can click Back Up Now button.
Step Two
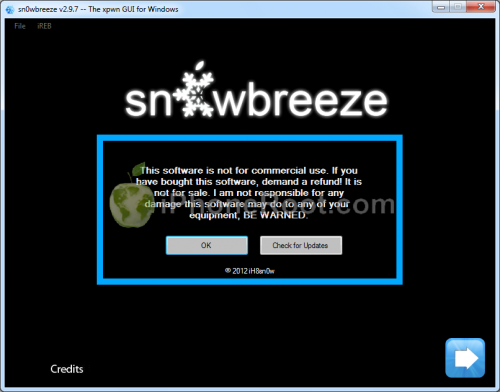
Double click on Sn0wbreeze exe icon to launch the application.
The application will launch. Click Ok button.
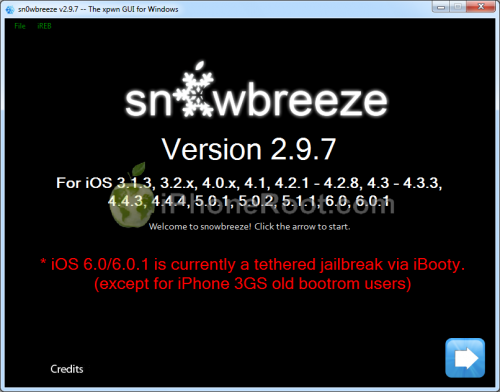
You will see the main window. Press blue-arrow button.
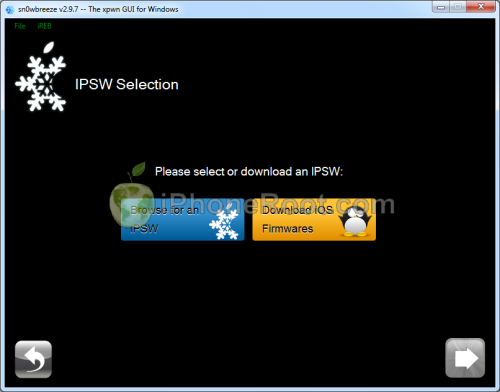
You will see IPSW selection menu. Click Browse button.
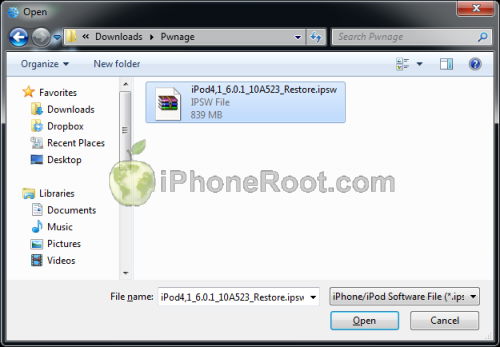
Navigate to folder with downloaded firmware, select it and click Open button.
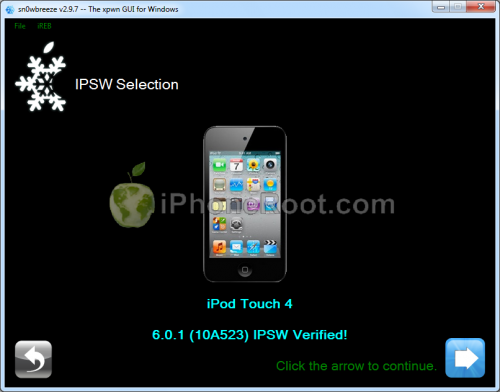
Sn0wBreeze will start identifying the firmware.
Sn0wbreeze will report the device information and firmware version. Check that this corresponds to your device. The screenshot below shows how this looks like for iPod Touch 4G.
Press blue-arrow next button.
Step Three
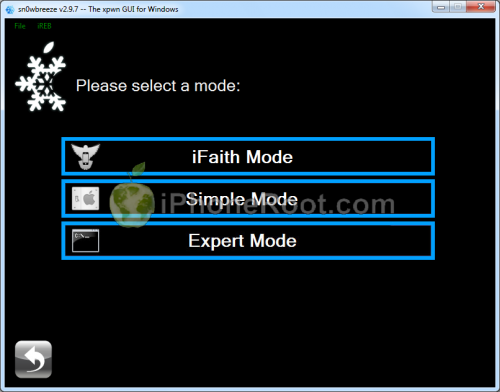
You will see the choice of 3 options.
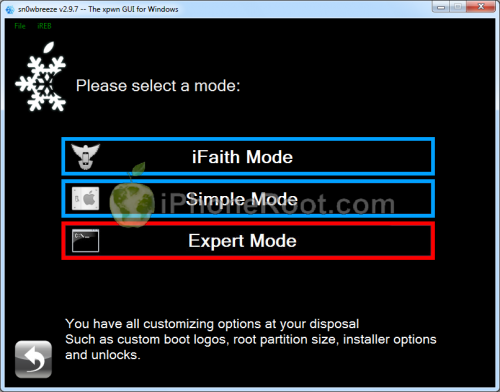
Click on Expert Mode.
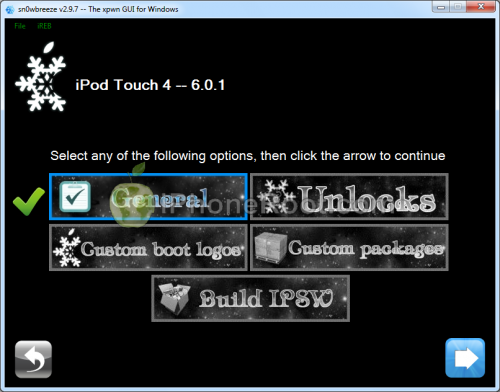
You will see the menu with General, Custom boot logos, Custom packages, Build IPSW. Some options might be disabled, if not supported with you device or firmware.
Click on General and then next blue arrow.
Step Four
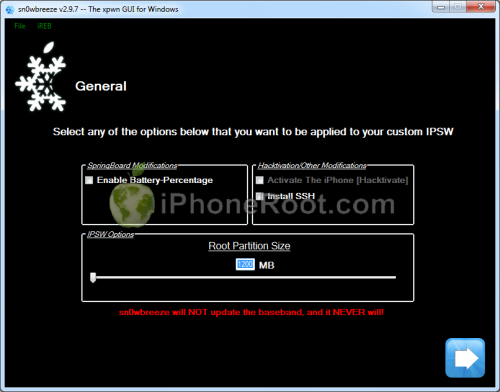
Here you can enable or disable several options.
Click next blue arrow button.
Step Five
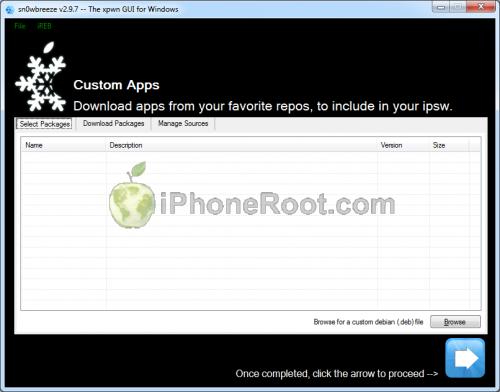
You will see a windows where you can install custom packages, that will be embedded to your custom firmware.
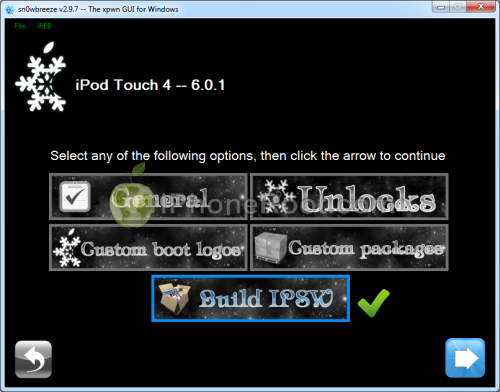
Click next. You are ready to create custom IPSW. Click Build IPSW and next button.
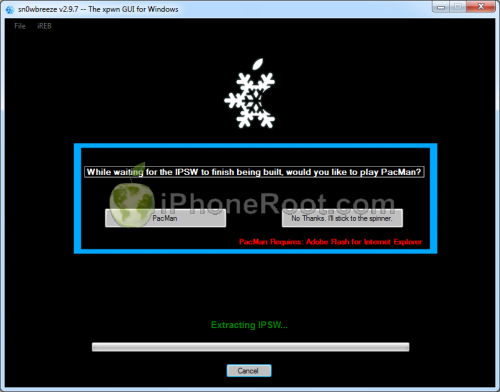
Wait while IPSW is being built.You can play PamMan game while you're waiting.
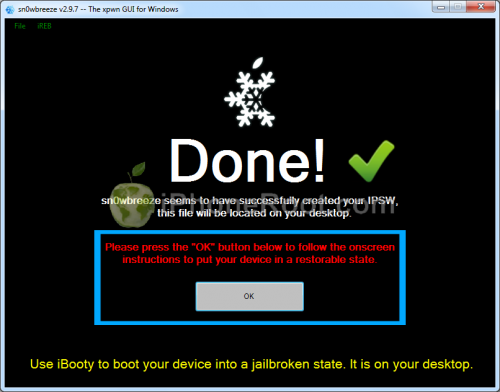
Then you will see Done screen:
Press Ok button.
Step Six
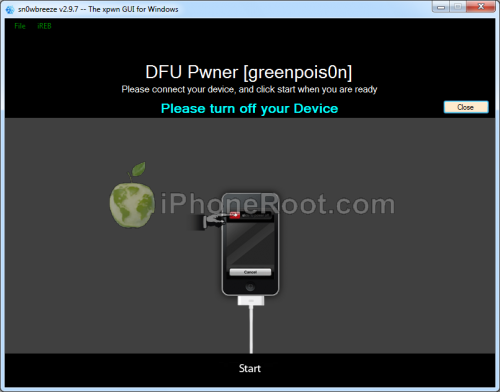
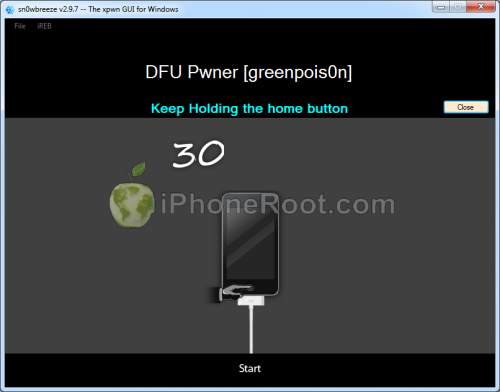
Now you have to follow instructions to put your device into DFU mode.
Please plug your iPod Touch into the computer and make sure its OFF then click the Start button.
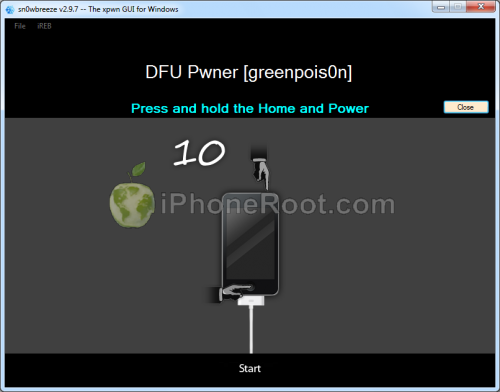
1. Hold down both the Home button and the Power button for 10 seconds.
2. Release the Power button and continue holding the Home button until Sn0wbreeze detects the device.
If you fail to put the device into DFU mode you can start again.
Step Seven
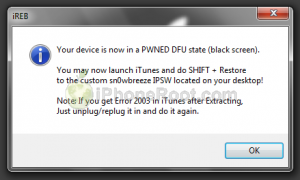
If you have followed the steps correctly, you will get the following message from Snw0breeze:
Close all opened windows of Sn0wbreeze and launch iTunes.
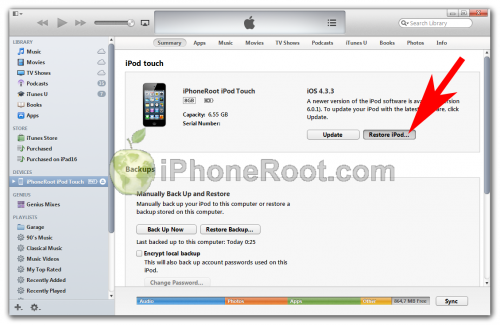
Select your device from the list of devices on the left. Now hold down Shift and click the Restore button.
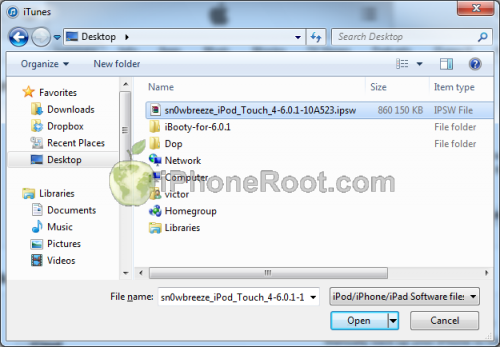
Navigate to the Desktop folder and select the newly created custom firmware ipsw. The name will be sn0wbreeze_iPod Touch_4-GSM-6.0.1-10A523.ipsw.. Click the Open button to continue.
iTunes will now restore the firmware on your iPod Touch. This can also take up to 10 minutes. Once done you will be rebooted into jailbroken iOS 6.0.1!
After the restore you're done! Your device is jailbroken.
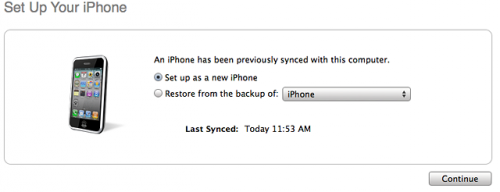
iTunes will ask if you want to setup your iPod Touch as a new device or restore from the backup. Choose Restore from Backup if you want to preserve your contacts and other information.
Step Eight
BOOT TETHERED
Now you will need to boot tethered your iPod Touch. You will need to do it everytime you restart.
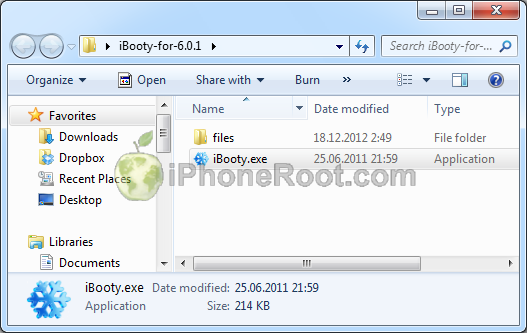
Sn0wBreeze created folder iBooty-for-6.0.1 on your desktop. Open it.
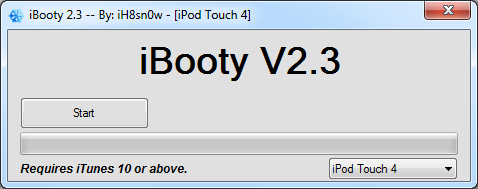
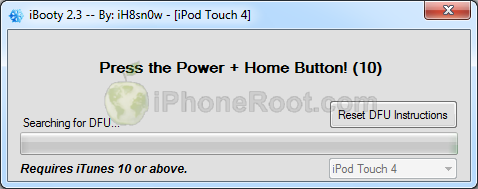
Run iBooty.
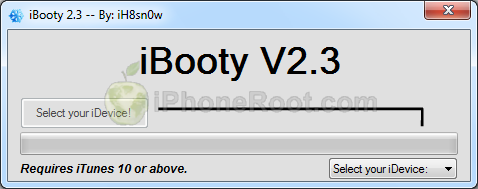
Choose your device in Select your iDevice option.
Push Start button.
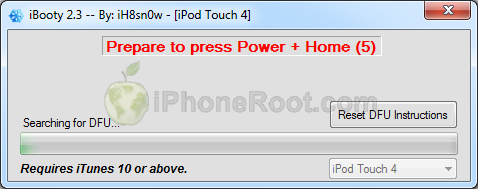
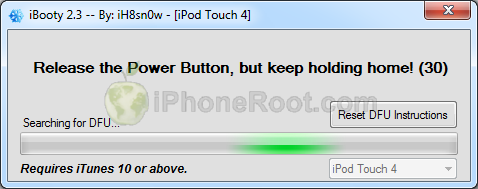
Now you will need to put your device into DFU. Follow the instructions:
1. Prepare to press Home + Power
2. Press Home + Power buttons and hold them for 10 seconds.
3. Release Power, but keep holding Home button for 30 seconds.
You're done. Your iPod Touch successfully booted tethered.
Step Nine
Run Cydia. Let it do all the necessary updates.
To have access to the root file system of your iPod Touch (via file managers like iFunBox or iPhone Explorer) install application called afc2add in Cydia.
Follow us on :

 Leave a comment, read comments [13]
Спасибо за такие подробные инструкции! Все получилось ))
[Reply]
Ольга
7 Jan 13 at 6:29 pm
my ipod didnt come on after ibooty
[Reply]
admin Reply:
January 14th, 2013 at 2:27 pm
try once again.
[Reply]
aimish
13 Jan 13 at 12:53 am
почему не появилось диалоговое окно в 7 шаге?
у меня айтюнс 11.0.1.12
[Reply]
admin Reply:
January 16th, 2013 at 12:32 pm
какое конкретно окно не появилось? первое? значит не перешли в pwned dfu.
[Reply]
Николай
16 Jan 13 at 11:19 am
где шаг 12 , о котором написано в конце ( где про сидию ) ?
[Reply]
admin Reply:
January 17th, 2013 at 5:14 pm
ошибочка. имелся в виду шаг 8. поправлю. спасибо.
[Reply]
twodkdesign
16 Jan 13 at 8:27 pm
В pwned dfu.перешел,все ок!)
не появляится окно с прошивкой,с этой: " Прошивка будет назваться sn0wbreeze_iPod Touch_4-GSM-6.0.1-10A523.ipsw."
Айпод сам начинает восстанавливатся на "автомате".
Мож дело в Айтюнсе?
[Reply]
admin Reply:
January 17th, 2013 at 5:16 pm
shift забыли нажать.
[Reply]
Николай
17 Jan 13 at 12:46 pm
Помогите, у меня с Redsn0w не вышло, пробую эту. Мне нужно её поверх устанавливать или восстановить сперва первоначальные настройки? Спасибо.
[Reply]
admin Reply:
January 21st, 2013 at 8:34 pm
можно поверх
[Reply]
ParaDocXXX
21 Jan 13 at 7:20 pm
спасибо все доступно и понятно/
[Reply]
gav
22 Jan 13 at 4:26 pm
на шаге 7 в айтьюнс возникла "неизвестная ошибка" помогите!
[Reply]
ваня
30 Jan 13 at 3:00 pm