Step-by-step Tutorial: How to Untether Jailbreak iPhone 4 Using RedSn0w 0.9.6 rc16 (Mac OS) [iOS 4.3.3]

This is step-by-step instructions on how to perform untethered jailbreak of your iPhone 4 on iOS 4.3.3 firmware using RedSn0w 0.9.6 rc16 for Mac OS.
UPDATE: Please, consider reading our Jailbreak & Unlock FAQ, especially if you have questions or troubles.
Important information.
Please think first, before you do something.
If you need unlock - do not update to 4.3.3, use PwnageTool 4.3.3.1 or Sn0wBreeze 2.7.3 to create custom firmware!
Step One
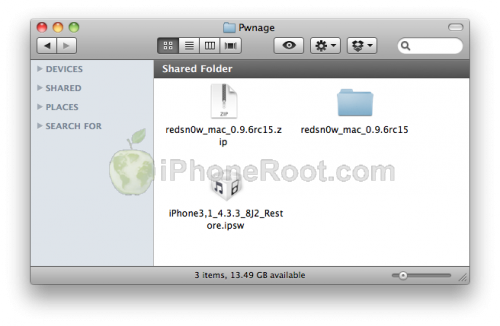
Create a folder on your desktop called Pwnage
Download latest version of RedSn0w from here. Save it in the Pwnage folder. Likewise, download the latest 4.3.3 firmware from below and place it in the same folder:
iPhone 4 iOS 4.3.3:
Extract the redsn0w executable from the RedSn0w zip file into the same folder by double clicking it.
Step Two
If you are already on iOS 4.3.3 you can skip this step.
UPDATE: Apple released iOS 4.3.4 that is only tethered jailbreakable with redsn0w. Apple has stopped signing iOS 4.3.3, so you can NOT restore to 4.3.3 any more (both original and custom), unless you have saved your SHSH keys for 4.3.3.
If you are on 4.3.3 just go to Step 3 and jailbreak. You can try to use jailbreakme on earlier iOS, but we have not tested it. Update to iOS 4.3.3 only is you have iOS 4.3.3 SHSH keys saved.
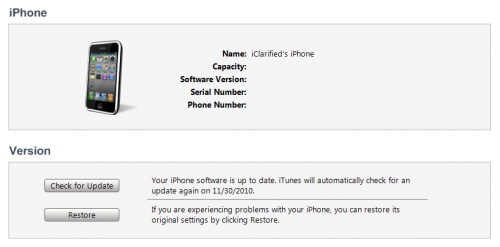
Connect your iPhone to the computer and launch iTunes. Create a backup, since all your data on iPhone will be erased.

Select your iPhone from the list of devices on the left. Now hold down Option and click the Restore button. Restore is preferred as it won't create any wasted space on your iPhone.
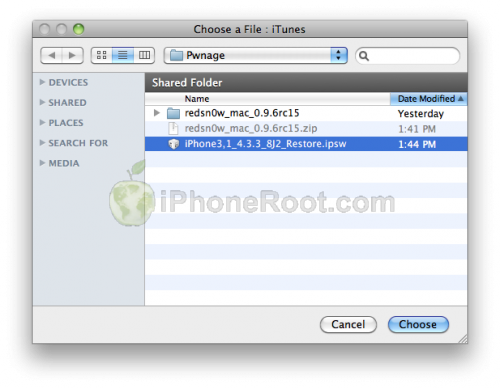
Navigate to the Pwnage folder on your desktop and select the 4.3.3 firmware ipsw. Click the Choose button to continue.
Step Three
Once iTunes has finished updating your iPhone to the desired firmware open the Pwnage folder on your desktop and launch the redsn0w application from the redsn0w folder we extracted earlier.

Step Four
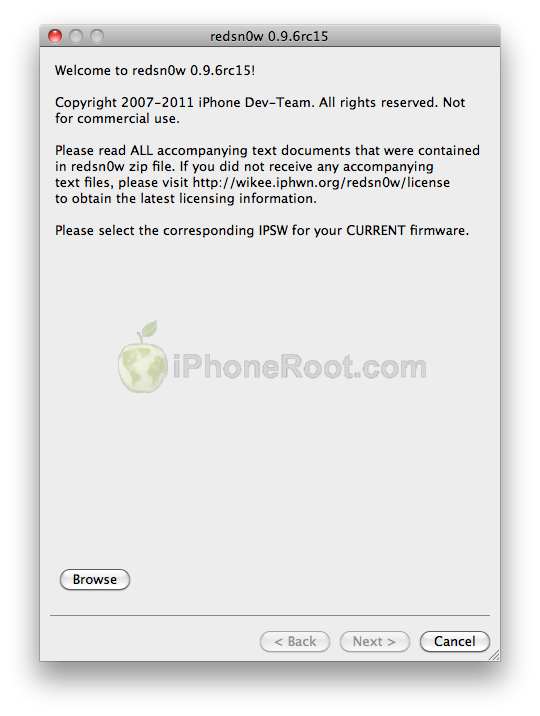
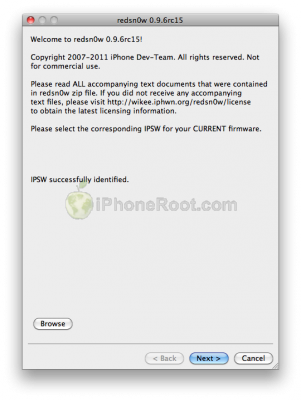
Once RedSn0w opens click the Browse button
Step Five
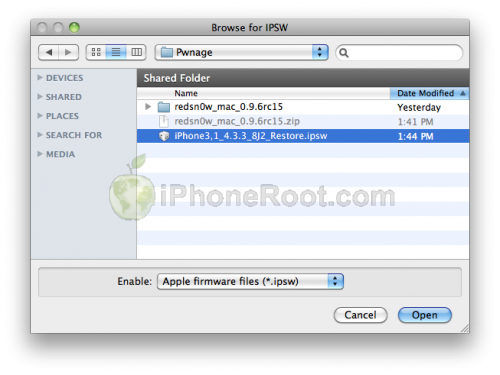
Select the 4.3.3 firmware ipsw we placed in the Pwnage folder on our desktop then click Open.
Step Six
Once the firmware has been verified click the Next button to continue.
Step Seven
RedSn0w will now prepare the jailbreak data
Step Eight
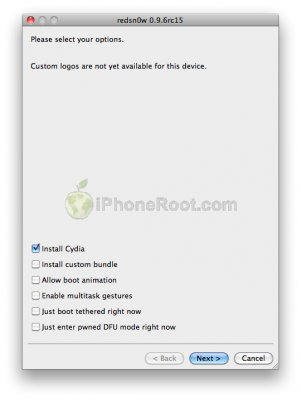
From this window you can select the jailbreak options you would like.
Make sure Cydia is selected.
Click the Next button to continue
Step Nine
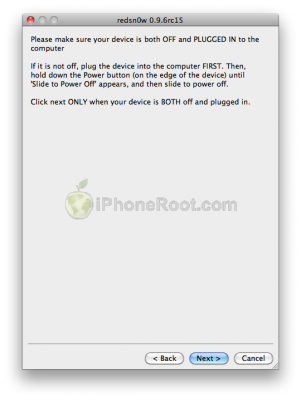
Please plug your iPhone into the computer and make sure its OFF then click the Next button
Step Ten
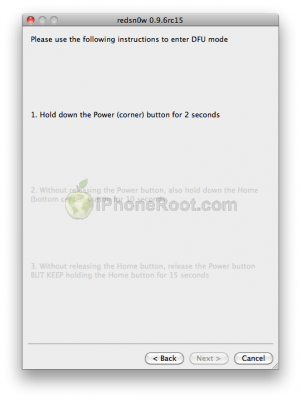
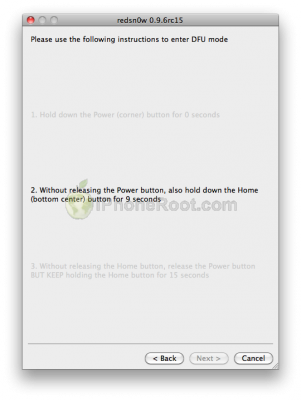
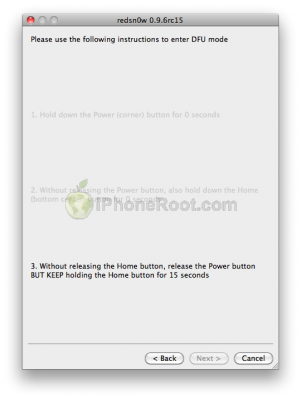
RedSn0w will now guide you through the steps to get into DFU mode.
1. Hold down Power button for 2 seconds.
2. Without releasing Power button, hold down both the Home button and the Power button for 10 seconds.
3. Release the Power button and continue holding the Home button until RedSn0w detects the device.
If you have problems try again. Here is a video showing this Step 10:
Step Eleven
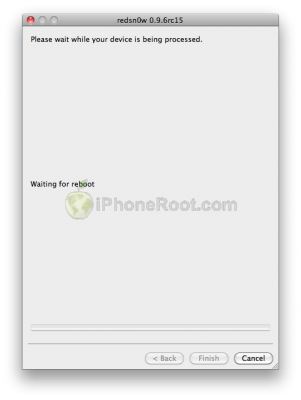
iPhone will reboot
Step Twelve
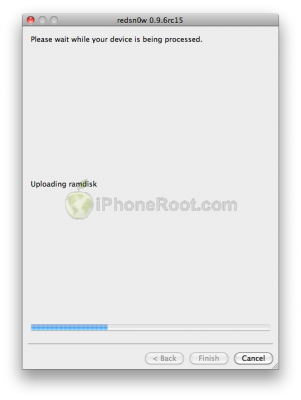
RedSn0w will then begin uploading the new RAM Disk and Kernel.
Step Thirteen
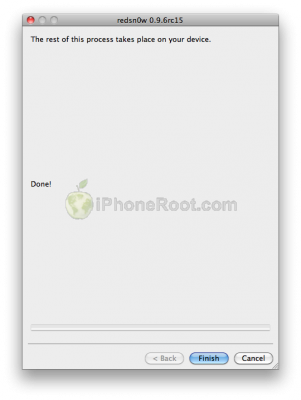
Once this is complete you will be notified that RedSn0w is done. Click the Finish button. When your iPhone finishes rebooting (5 minutes or so) it will be jailbroken with Cydia on the SpringBoard.
Step Fourteen
When your iPhone has restarted you can run Cydia. Let it do all the necessary updates.
To have access to the root file system of your iPhone (via file managers like iFunBox or iPhone Explorer) install application called afc2add in Cydia.
Step Fifteen
Do not forget to change your default password if you've installed openssh.
[via iclarified]
Follow us on :

 Leave a comment, read comments [2]
У меня iphone 4, версия прошивки 4.2.1, прошивка модема 04.10.01. Американец, привязан к симке AT&T. Имеется гивей-чип. Могу ли я каким либо образом избавится от необходимости испорльзовать этот чип? Например установить прошивку 4.3.3 и сделать джэйлбрэйк? И вообще целесообразно ли это?
[Reply]
admin Reply:
April 1st, 2012 at 10:21 am
нет, не сможете. версию можема понизить нельзя, а текущая не разлачивается программно.
[Reply]
Антон
30 Mar 12 at 10:35 pm